Keto Chocolate Mousse
This is the recipe I make when I want something that feels like a real dessert, not a “keto version” of one. My husband is the toughest critic in the house for anything chocolate, and the first time I made this he asked if he could have the rest of the bowl instead of waiting for me to portion it into cups.
That’s usually how I know a recipe is actually good instead of just good “for keto.”
It took a few tries to get here. My first attempt used only heavy cream and cocoa powder, and it tasted more like flavored whipped cream than mousse.
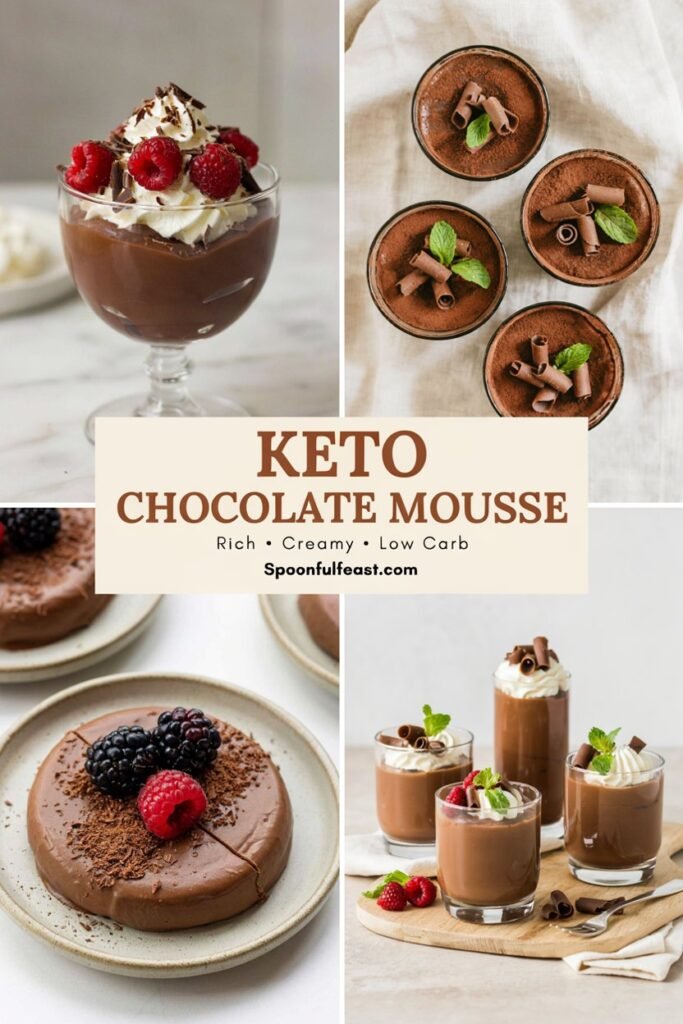
The second attempt had the right richness but wouldn’t hold its shape. The fix ended up being melted chocolate folded into the whipped cream base, which gives it that dense, silky texture real mousse is supposed to have, instead of something closer to a chocolate cloud.
It’s naturally low carb, sugar free, and gluten free, and it comes together in about fifteen minutes with no baking involved. If you need a dessert that looks impressive but takes almost no effort, this is the one I reach for.
Why This One Works (When So Many Keto Mousses Don’t)
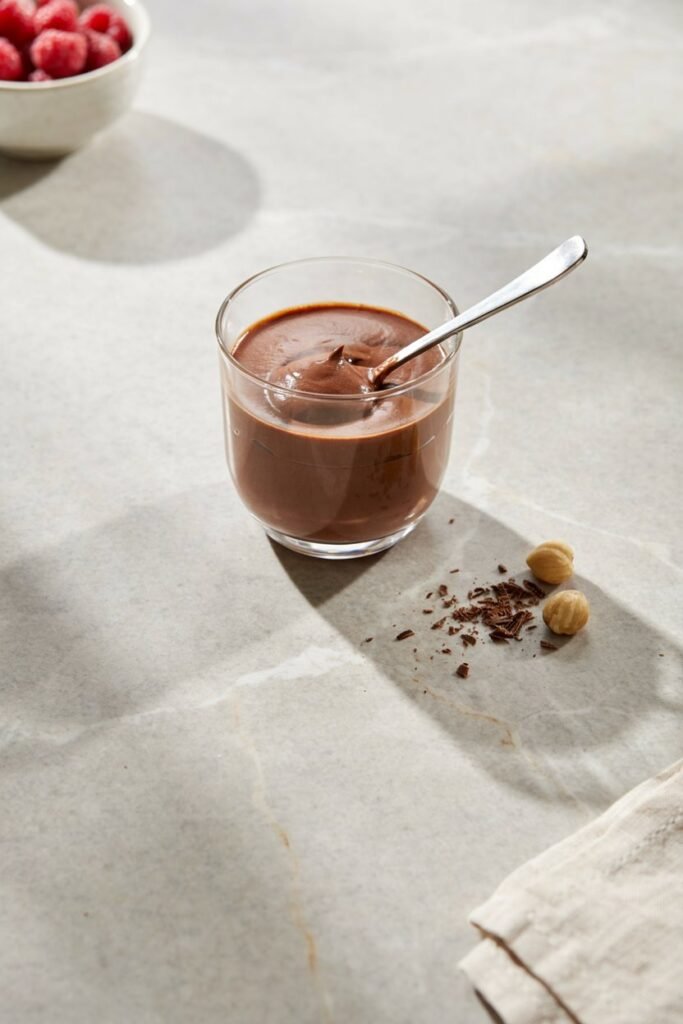
It actually tastes like chocolate, not cocoa powder. Using real melted sugar-free chocolate instead of relying only on cocoa powder makes a noticeable difference in richness and depth of flavor.
The texture holds. Folding melted chocolate into whipped cream gives it enough structure to hold its shape in a spoon, instead of collapsing into a puddle like a lot of “mousse” recipes that are really just sweetened whipped cream.
No cooking required. No double boiler, no eggs to temper, no risk of scrambling anything. Just melt, whip, and fold.
What Makes the Texture Different
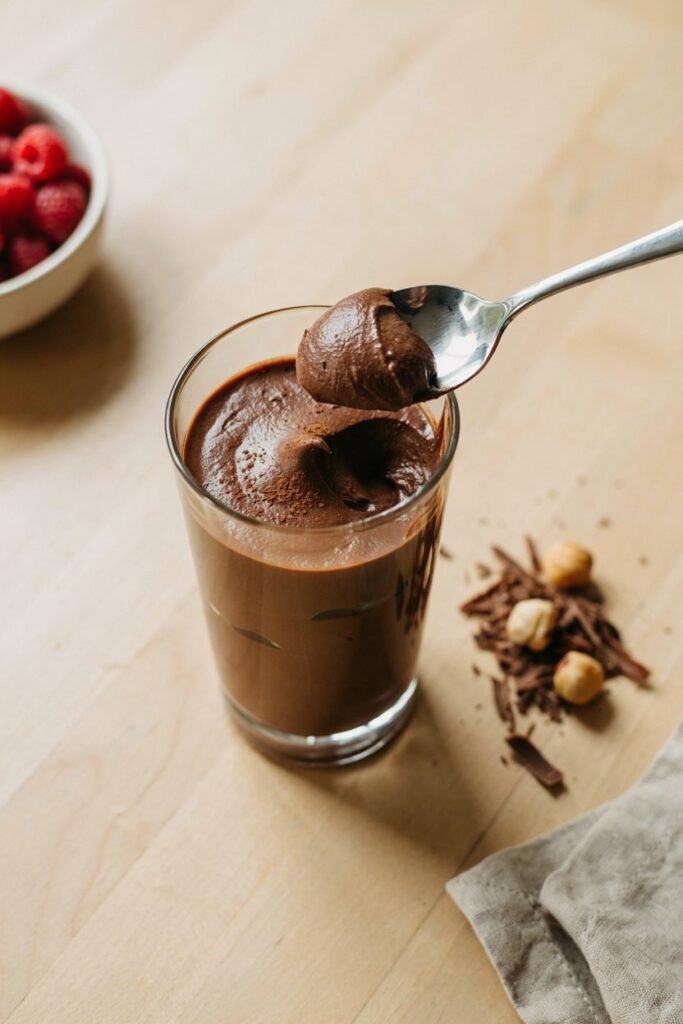
A lot of keto mousse recipes are really just whipped cream with cocoa powder mixed in, which is fine, but it’s not mousse.
Real mousse gets its density and that slow-melt-in-your-mouth quality from melted chocolate being folded into an aerated base. That’s the difference here.
The melted chocolate cools slightly before folding, which keeps it from deflating the whipped cream, and the result is something with actual body, not just air.
The other detail that matters is using cold heavy cream straight from the fridge. Cream that’s even slightly warm won’t whip to stiff peaks properly, and if your peaks aren’t stiff enough, the mousse will be loose no matter how good your chocolate is.
Ingredients
- Heavy whipping cream, cold. This is the base of the whole mousse. Cold cream whips faster and holds its structure better.
- Sugar-free chocolate, chopped or in chip form. Look for one sweetened with erythritol or stevia. The quality of the chocolate you use has a bigger impact on flavor here than almost anything else in the recipe.
- Unsweetened cocoa powder. Adds depth of chocolate flavor without adding more sweetness.
- Powdered keto sweetener. Powdered blends dissolve more smoothly into whipped cream than granulated ones, which can leave a slightly gritty texture.
- Vanilla extract. Rounds out the bitterness of the cocoa.
- A pinch of salt. Sharpens the chocolate flavor more than people expect.
Substitutions I’ve Actually Tested
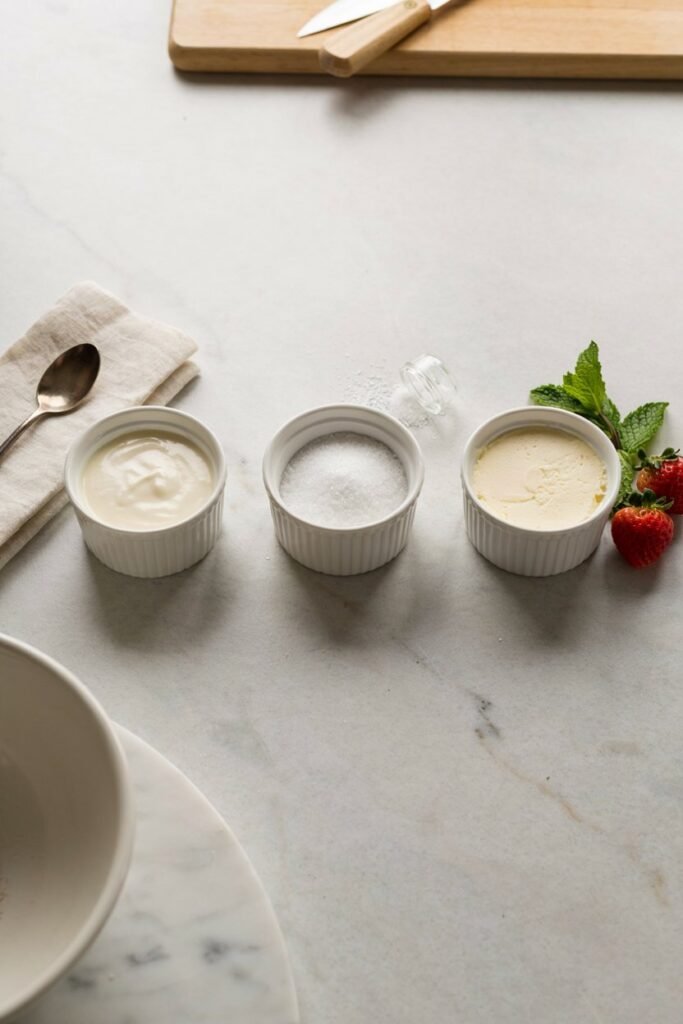
No sugar-free chocolate on hand? Unsweetened baking chocolate works if you increase the sweetener slightly to compensate, but the texture is a touch less silky.
Dairy free? Full-fat coconut cream, chilled overnight so it separates and firms up, works in place of heavy cream. The flavor gets a mild coconut note, which honestly pairs nicely with the chocolate.
Different sweetener? Allulose works well here since it dissolves smoothly. Monk fruit blends work too, though they can taste slightly more bitter in the aftertaste, in my experience.
Want it richer? Add a tablespoon of mascarpone or full-fat cream cheese, softened, when you fold in the chocolate.
Kitchen Tools You’ll Need
- Mixing bowls (chilled, if possible)
- Hand mixer or stand mixer
- Rubber spatula
- Microwave-safe bowl or double boiler for melting chocolate
- Serving cups or ramekins
- Fine mesh sifter for the cocoa powder
How to Make Keto Chocolate Mousse
Step 1: Melt the Chocolate
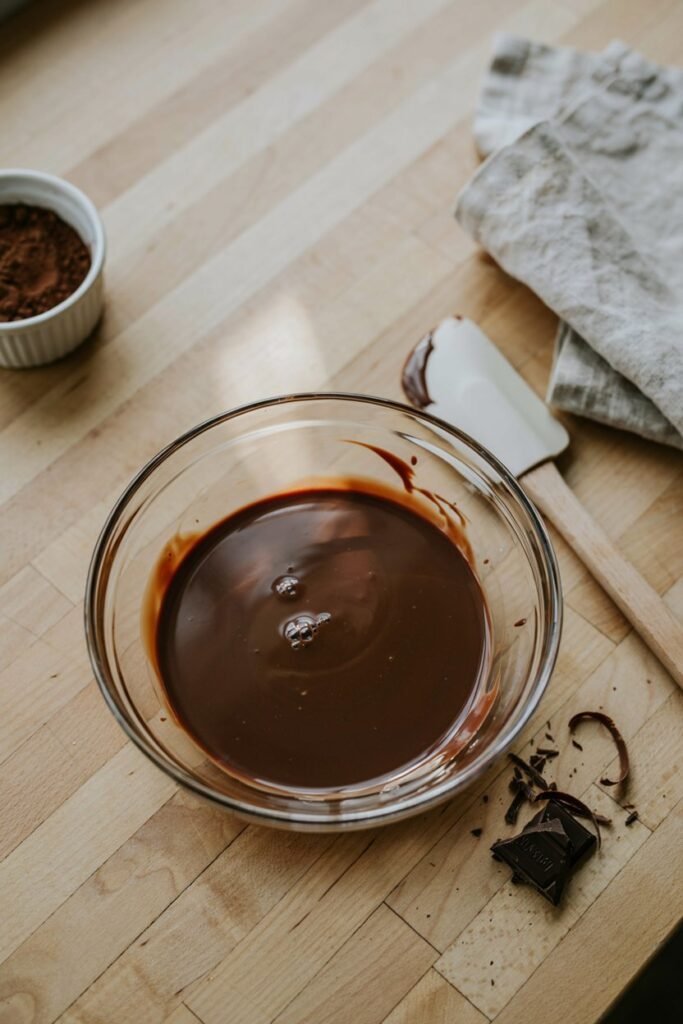
Melt the chopped chocolate in the microwave in 20-second bursts, stirring well between each one so it melts evenly instead of burning in spots. Use a completely dry bowl and dry utensil.
Even a single drop of water getting into the chocolate can cause it to seize into a thick, grainy clump that can’t be smoothed back out, so make sure your bowl and spatula are fully dry before you start.
If that happens, you’ll need to start over with fresh chocolate rather than trying to fix it. Once melted, let the chocolate cool at room temperature for about 5 minutes, until it’s just warm to the touch rather than hot.
Folding in chocolate that’s still hot will melt the whipped cream and deflate all the air you just beat into it.
Step 2: Whip the Cream
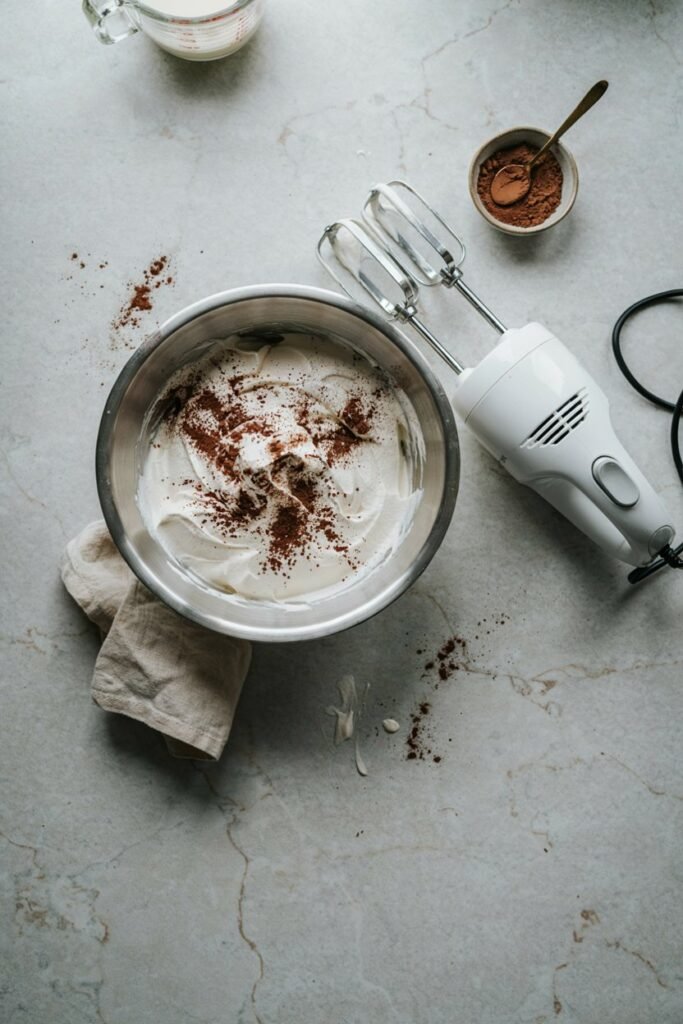
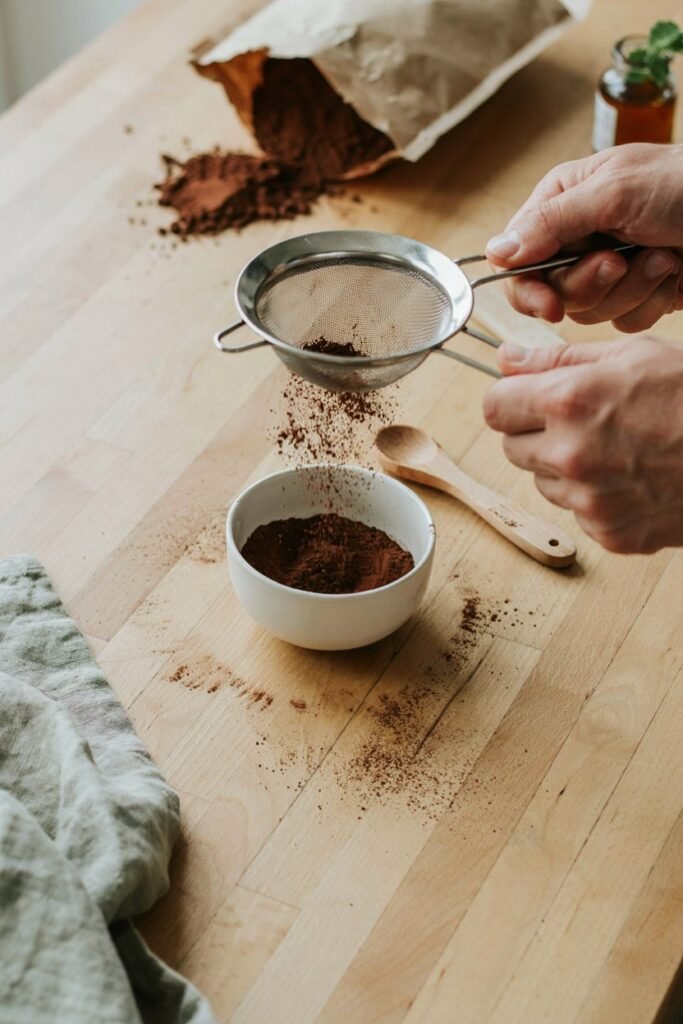
Sift the cocoa powder and powdered sweetener together into a small bowl first. This step matters more than it seems.
Cocoa powder tends to clump, and adding it straight into the cream without sifting can leave small bitter pockets throughout the mousse instead of blending in smoothly.
In a chilled mixing bowl, combine the cold heavy cream with the sifted cocoa and sweetener mixture, along with the vanilla and salt.
Beat with a hand mixer on medium-high speed until stiff peaks form, usually 3 to 5 minutes depending on your mixer, though this can vary, so watch the texture rather than the clock.
You’ll know it’s ready when you lift the beaters and the cream holds a peak that stands straight up without drooping or slumping over. If it looks glossy and slightly grainy at the edges, or if you start to see the texture separating, you’ve gone slightly too far.
Stop a little before you think you need to, since the cream will continue to firm up a bit more once you start folding in the chocolate.
Step 3: Fold in the Chocolate
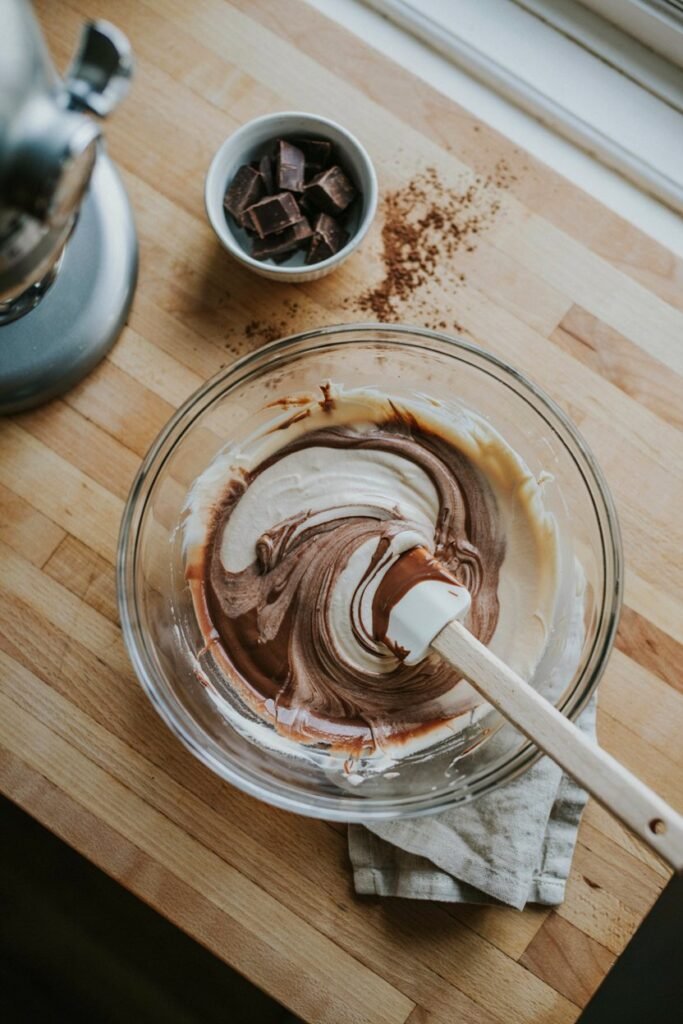
Add the slightly cooled melted chocolate to the whipped cream. Using a rubber spatula, cut down through the center of the bowl, scrape along the bottom, and turn the mixture up and over itself, rotating the bowl a quarter turn as you go.
This is different from stirring in circles, which pushes air out of the cream rather than keeping it folded in. Continue this gentle folding motion, turning the bowl each time, until no streaks of chocolate or cream remain and the color is even throughout.
It usually takes about 15 to 20 folds. Folding rather than stirring keeps the air in the whipped cream intact, which is what gives the mousse its light but rich texture instead of a dense, flat result.
Step 4: Portion and Chill
Divide the mousse into small cups or ramekins. Cover and refrigerate for at least 1 hour before serving. It firms up noticeably as it chills, so don’t judge the texture right after mixing.
Step 5: Serve
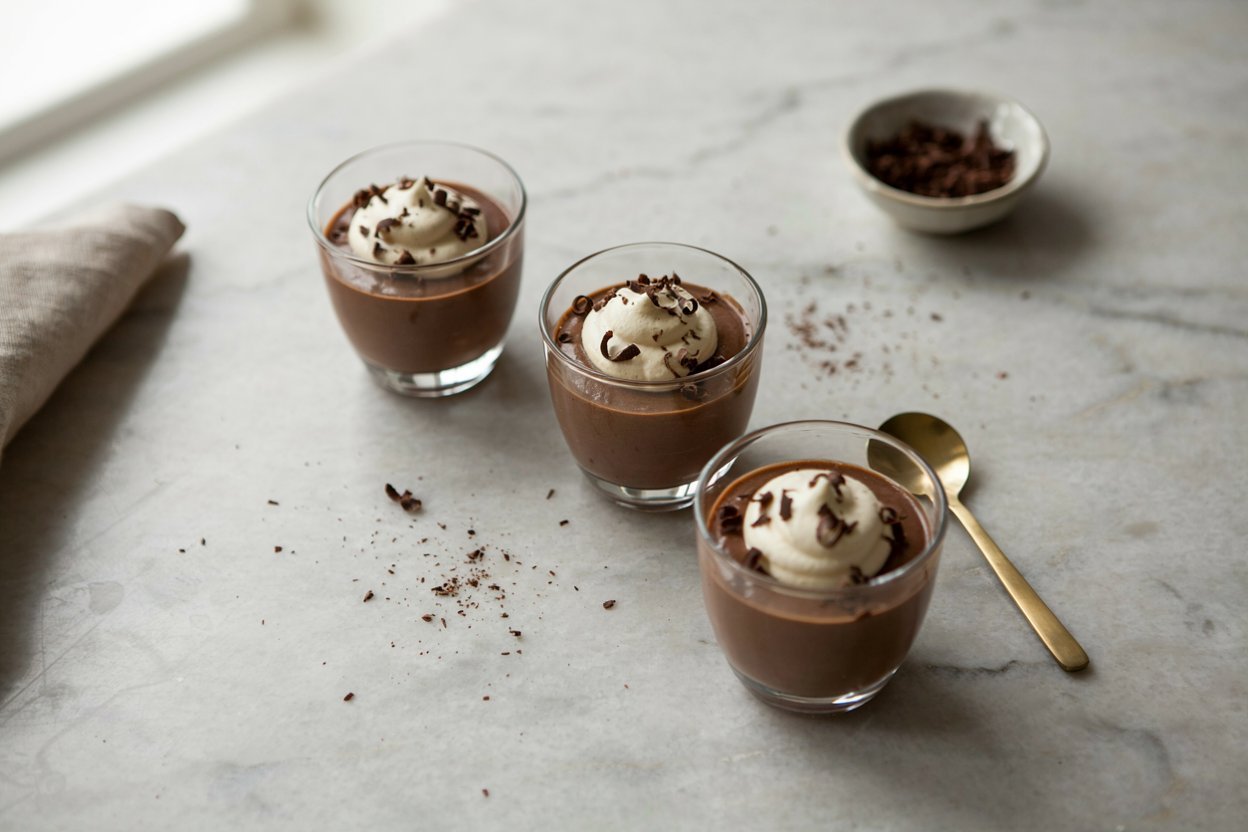
Top with a little whipped cream, a few chocolate shavings, or fresh berries right before serving.
Keto Chocolate Mousse Recipe
Ingredients
Method
- Melt the chopped chocolate in 20-second microwave bursts, stirring between each. Let cool for 5 minutes.
- In a chilled bowl, beat the cold heavy cream with the powdered sweetener, cocoa powder, vanilla, and salt until stiff peaks form.
- Fold the cooled melted chocolate into the whipped cream gently until no streaks remain.
- Divide into small cups or ramekins.
- Cover and refrigerate for at least 1 hour before serving.
- Top with whipped cream, chocolate shavings, or berries before serving.
Notes
- Let melted chocolate cool before folding, or it will deflate the whipped cream.
- Use powdered sweetener, not granulated, to avoid a gritty texture.
- Chill for at least 1 hour for the best texture.
- Does not freeze well.Tip text
Tips From Making This More Times Than I’ll Admit
- Chill your bowl and beaters. Cream whips faster and holds better when everything starts cold.
- Let the chocolate cool before folding. This is the step people skip when they’re in a hurry, and it’s the most common reason mousse turns out loose.
- Don’t overwhip the cream. Stiff peaks, not stiff-and-starting-to-look-like-butter peaks.
- Give it real chill time. An hour minimum. If you can do longer, the texture improves even more.
- Taste your chocolate before you commit. Sugar-free chocolate brands vary a lot in bitterness, so taste a small piece first and adjust your sweetener if needed.
Mistakes I’ve Made So You Don’t Have To
Folding in chocolate straight off the stove. It deflated half the whipped cream before I could stop it. Let it cool first, every time.
Using granulated sweetener instead of powdered. Left a slightly gritty texture that wasn’t noticeable until the third bite in.
Not chilling long enough because I was impatient. It tasted fine but ate more like pudding than mousse. Give it the full hour.
Overwhipping the cream while distracted. Turned slightly grainy and started separating at the edges. Keep an eye on it once it starts thickening.
Troubleshooting
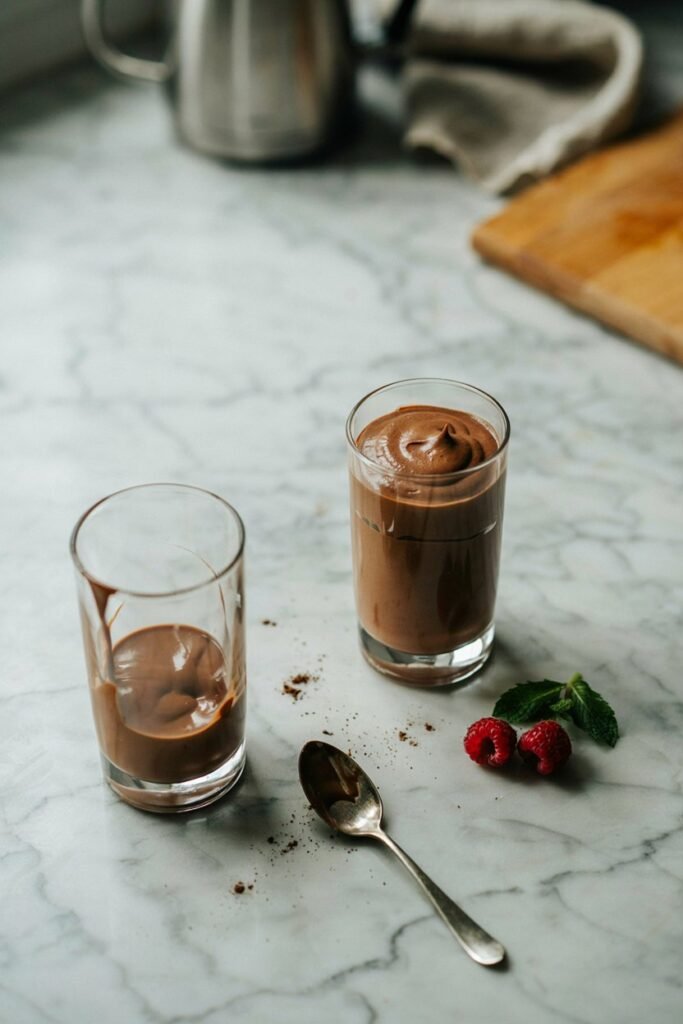
My mousse is runny instead of firm. This is almost always one of two things: the chocolate was folded in while still warm and deflated the whipped cream, or the cream wasn’t whipped to full stiff peaks before folding. Give it more chill time in the fridge, since it firms up significantly after an hour.
The texture turned grainy. Usually caused by overwhipping the cream past stiff peaks, or by using a granulated sweetener that didn’t fully dissolve. Powdered sweetener dissolves more smoothly and helps avoid this.
It tastes bitter. Check your chocolate. Sugar-free chocolate brands vary widely in bitterness. If it tastes sharp, add a bit more powdered sweetener to balance it next time.
It separated or looks curdled. This usually happens if the melted chocolate was too hot when folded in, causing the fat to separate from the whipped cream. Let the chocolate cool closer to room temperature before folding next time.
Mine deflated after sitting in the fridge. A small amount of settling is normal, but significant deflation usually means the cream wasn’t whipped to stiff enough peaks to begin with.
Recipe Variations
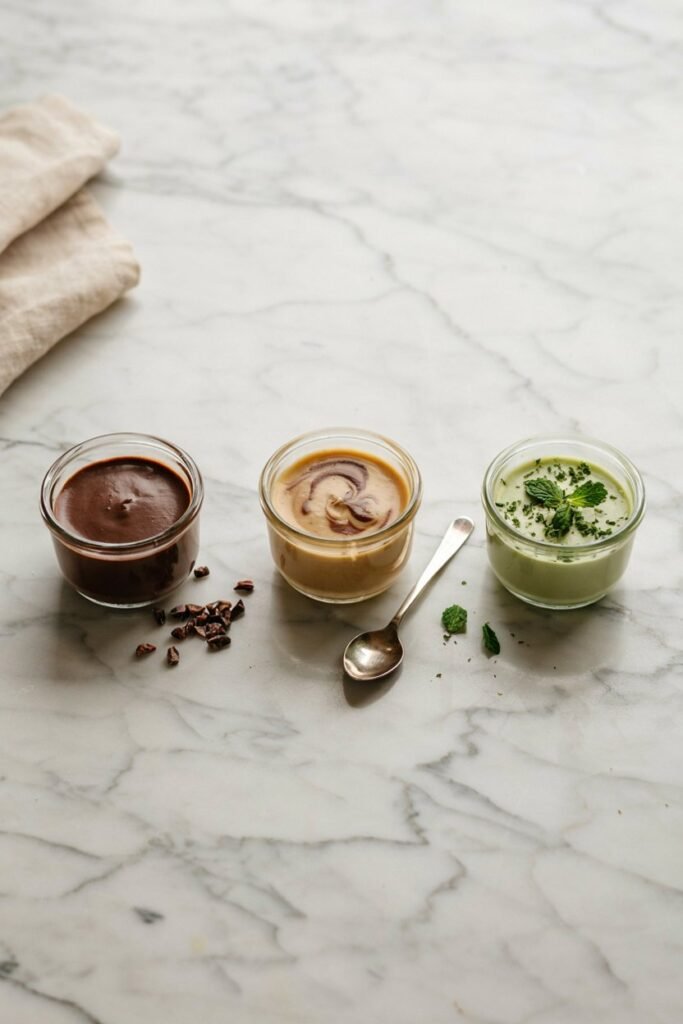
Keto Mocha Mousse. Add 1 teaspoon of instant espresso powder to the whipped cream mixture for a coffee-chocolate combination.
Keto Peanut Butter Chocolate Mousse. Swirl in 2 tablespoons of natural peanut butter after folding in the chocolate.
Keto Mint Chocolate Mousse. Add a few drops of peppermint extract in place of vanilla.
Keto White Chocolate Mousse. Use sugar-free white chocolate instead of dark, and skip the cocoa powder.
Layered Mousse Parfait. Layer the mousse with a small amount of crushed keto cookies or nuts for texture contrast.
What to Serve With It
- Fresh raspberries or strawberries
- A dollop of unsweetened whipped cream
- A few shavings of dark chocolate
- Crushed pecans or hazelnuts for crunch
- A small espresso on the side, which is my husband’s preferred way to eat this
Storage
Refrigerator. Cover tightly and store for up to 4 days. The texture stays good, though it firms up slightly more each day.
Freezer. This one doesn’t freeze well. The texture turns icy and loses the silky quality once thawed, so I’d recommend making it fresh instead.
Make Ahead Notes
This is a great make-ahead dessert since it needs chill time anyway. Make it up to a day in advance and add toppings right before serving so they don’t get soggy sitting in the fridge.
Frequently Asked Questions
Is this actually low carb? Yes. Made with sugar-free chocolate and a keto sweetener, it comes in at around 4 grams of net carbs per serving.
Can I use cocoa powder only, without melted chocolate? You can, but the texture will be closer to sweetened whipped cream than true mousse. The melted chocolate is what gives it real body.
Why is my mousse not holding its shape? Most likely the cream wasn’t whipped to stiff peaks, or the melted chocolate was folded in while still too warm.
Can I make this dairy free? Yes. Chilled full-fat coconut cream works in place of heavy cream, though it adds a mild coconut flavor.
How long does it need to chill? At least 1 hour, though longer improves the texture even more.
Can I double the recipe? Yes, this scales easily. Just make sure your bowl is large enough to whip the cream without overflow.
Final Thoughts
This is one of those recipes that feels far more impressive than the effort it actually takes. No oven, no complicated technique, just good chocolate and cold cream done right.
It’s become our go-to for date nights in and last-minute dessert requests, and it’s rich enough that a small portion actually feels satisfying instead of leaving you wanting more sugar an hour later.
If you make it, let me know which variation you tried. I’m always curious which one people gravitate toward first.