Homemade Oatmeal Cream Pies
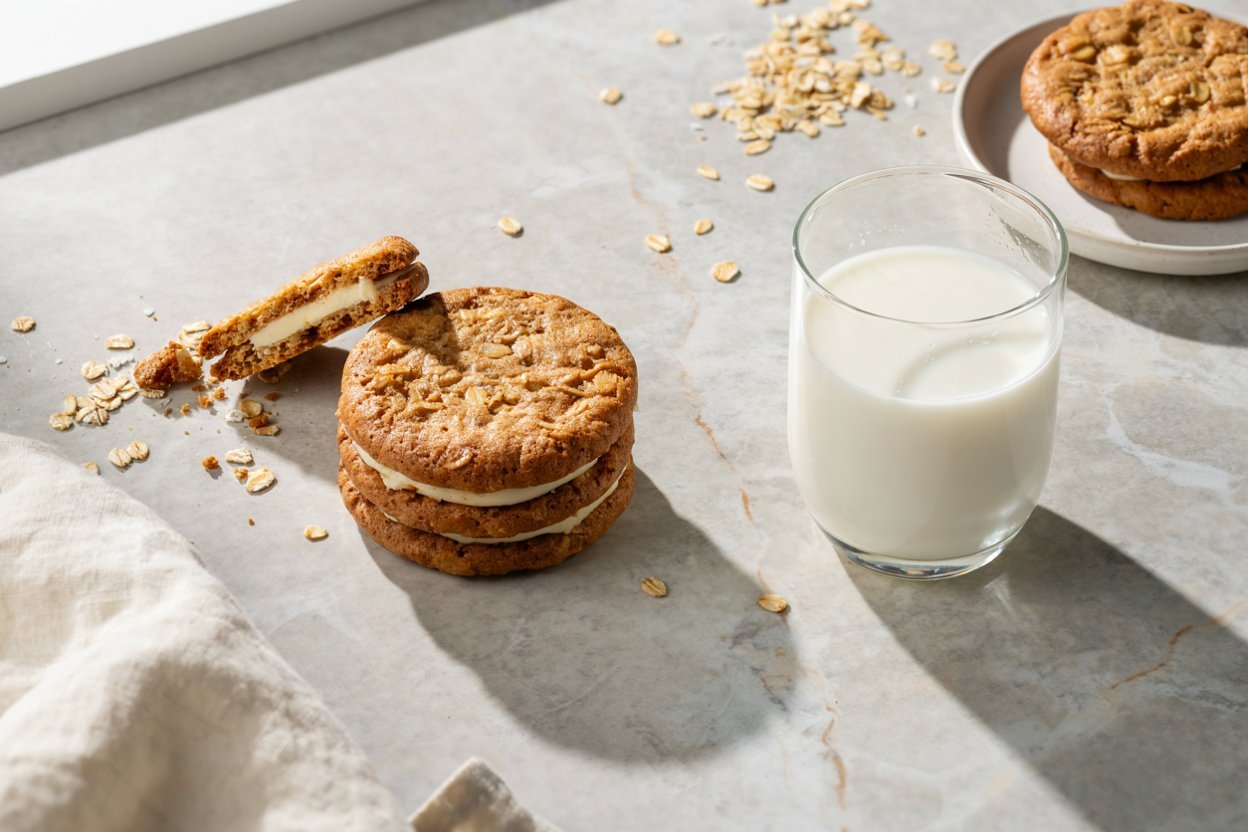
There’s a specific kind of nostalgia tied to the individually wrapped oatmeal cream pies that showed up in lunchboxes for decades, and I wanted to see if I could actually beat the original instead of just recreating it.
Turns out you can, by a wide margin, once you’re working with real butter, fresh spices, and a filling that isn’t shelf-stable for a decade.
These are soft, chewy oatmeal cookies with just enough cinnamon and brown sugar to make them taste like something more than a plain oatmeal cookie, sandwiched around a fluffy vanilla cream filling that’s closer to a marshmallow buttercream than a basic frosting.

The combination is somehow both nostalgic and noticeably better than what you remember, which is exactly what I was going for.
These take a bit more assembly than a drop cookie since you’re baking, cooling, filling, and sandwiching, but none of the individual steps are difficult, and the payoff is worth the extra fifteen minutes of assembly time.
Why This One Works
The cookies stay soft, not crisp. A higher ratio of brown sugar to white sugar, along with slightly underbaking them, keeps these cookies chewy rather than crisp, which matters since a crisp cookie will crack the moment you try to sandwich filling between two of them.
The filling holds its shape without being stiff. A marshmallow fluff-based filling gives you that classic light, slightly sticky texture instead of a dense buttercream that would overpower the cookie.
The oats add real texture, not just a health-food gesture. Using old-fashioned rolled oats instead of quick oats keeps some texture and chew in the cookie itself, rather than the oats disappearing into the dough entirely.
What Makes the Texture Different
Store-bought oatmeal cream pies tend to have a slightly dry, cakey cookie built to survive months on a shelf.
Homemade ones don’t need to solve for shelf life, so the dough can lean into real butter and enough brown sugar to stay genuinely soft and chewy for days, not just on the day you bake them.
The filling matters just as much as the cookie. A filling made with marshmallow fluff whipped into butter and powdered sugar gives you something with real body that won’t squeeze out the sides the moment you take a bite, while still tasting light rather than like a dense frosting sandwiched between two cookies.
Ingredients
For the Oatmeal Cookies
- Unsalted butter, softened. The base of the dough’s flavor and softness.
- Brown sugar, packed. The primary sugar, responsible for the chewy texture and deeper flavor.
- Granulated sugar. A smaller amount for balance and a bit of edge crispness.
- Eggs. Bind the dough.
- Vanilla extract. Rounds out the flavor.
- All-purpose flour. The structural base.
- Old-fashioned rolled oats. Not quick oats, which disappear into the dough and lose their texture.
- Baking soda. For lift.
- Ground cinnamon. A warm background note that makes these taste like more than a plain oatmeal cookie.
- Salt. Balances the sweetness.
For the Cream Filling
- Unsalted butter, softened. The base of the filling.
- Marshmallow fluff. Gives the filling its classic light, slightly sticky texture.
- Powdered sugar. Sweetens and helps the filling hold its shape.
- Vanilla extract. Rounds out the flavor.
- A pinch of salt. Keeps the filling from tasting one-note sweet.
Substitutions I’ve Actually Tested
No marshmallow fluff on hand? A straight buttercream works, though you’ll lose some of that classic light, slightly sticky texture that makes these taste like the real thing.
Want a spicier cookie? Add a pinch of nutmeg or ginger alongside the cinnamon for a slightly more complex flavor.
Gluten-free? A 1:1 gluten-free flour blend works reasonably well here, and make sure your oats are labeled gluten-free too, since oats are often processed alongside wheat.
Want a firmer filling for warm weather? Chill the filling for 10 to 15 minutes before assembling, which helps it hold up better if these are heading somewhere warm.
Kitchen Tools You’ll Need
- Stand mixer or hand mixer
- Mixing bowls
- Baking sheets
- Parchment paper or silicone baking mats
- Cookie scoop
- Wire cooling rack
- Piping bag or spoon for the filling
How to Make Homemade Oatmeal Cream Pies
Step 1: Cream the Butter and Sugars
Beat the softened butter, brown sugar, and granulated sugar together until light and fluffy, about 2 to 3 minutes. This step matters more than it seems, since properly creaming the butter and sugar is what gives the cookies their soft texture.
Step 2: Add the Eggs and Vanilla
Beat in the eggs one at a time, then the vanilla, mixing until fully combined and smooth.
Step 3: Mix the Dry Ingredients
In a separate bowl, whisk together the flour, oats, baking soda, cinnamon, and salt. Gradually add this to the wet ingredients, mixing until just combined.
Don’t overmix once the flour goes in, or the cookies will turn out tougher than you want.
Step 4: Scoop and Bake
Preheat your oven to 350°F. Scoop the dough into balls, about 2 tablespoons each, and place them on a lined baking sheet a few inches apart. Bake for 9 to 11 minutes, until the edges are set but the centers still look slightly soft. They’ll continue to firm up as they cool, so don’t wait for them to look fully done in the oven.
Step 5: Cool Completely
Let the cookies cool on the baking sheet for about 5 minutes, then transfer to a wire rack to cool fully before filling. Filling warm cookies will melt the filling right out the sides.
Step 6: Make the Filling
Beat the softened butter until smooth, then add the marshmallow fluff and beat until fully combined. Gradually add the powdered sugar, vanilla, and salt, beating until light and fluffy.
Step 7: Assemble
Pipe or spoon a generous amount of filling onto the flat side of one cookie, then top with a second cookie, flat side down, pressing gently until the filling spreads to the edges.
Tips From Making This More Times Than I’ll Admit
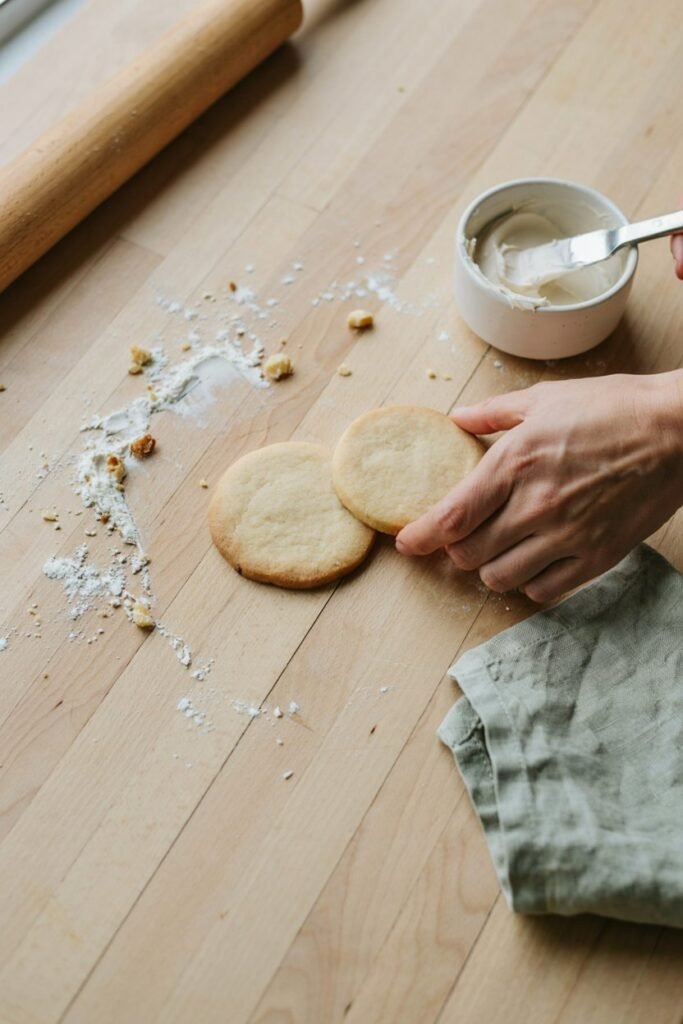
- Underbake slightly, not fully. These cookies should look a touch underdone when you pull them, since they firm up as they cool and you want that soft, chewy texture, not a crisp one.
- Match cookies by size before sandwiching. I sort them into similar-sized pairs before filling so the sandwiches actually look even.
- Let the cookies cool completely. This is the step people rush, and it’s the reason filling squeezes out the sides instead of staying put.
- Don’t skimp on the filling. A thin scrape of filling disappears once you bite in. Be generous.
- Chill assembled cookies briefly if your kitchen runs warm. About 15 minutes in the fridge firms the filling back up if it’s gotten soft from handling.
Mistakes I’ve Made So You Don’t Have To
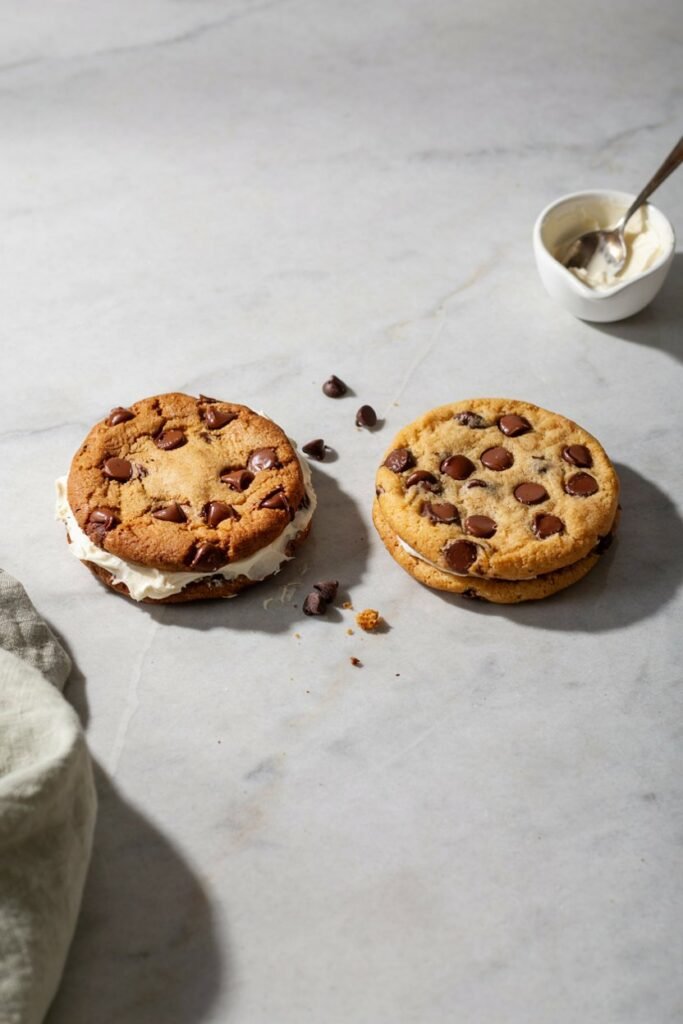
Filling cookies while they were still slightly warm. The filling melted and slid right out the sides within minutes.
Overbaking because I doubted the “slightly underdone” instruction. Ended up with crisp cookies that cracked the moment I tried to sandwich them.
Using quick oats instead of old-fashioned. The texture disappeared into the dough, and the cookies lost the chew that makes these worth making at home instead of buying the store version.
Being stingy with the filling the first time. Barely noticeable once assembled. Now I load it on generously.
Troubleshooting
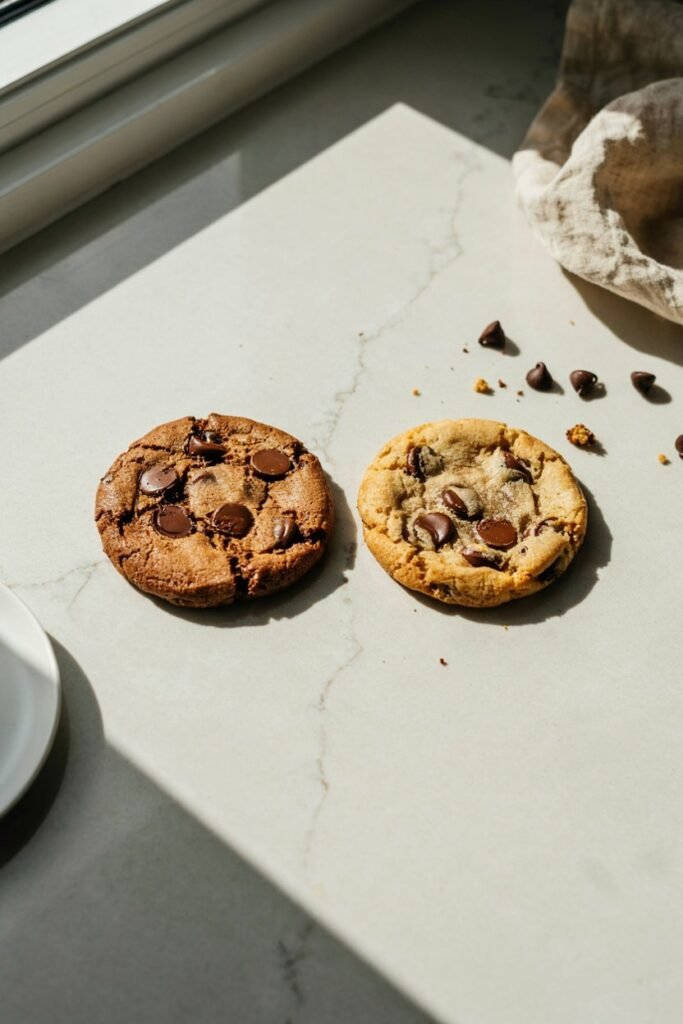
My cookies turned out crisp instead of soft. This usually means they were overbaked. Pull them when the centers still look slightly underdone, since they continue to firm up as they cool on the pan.
My filling squeezed out when I bit into the sandwich. Check whether the cookies had fully cooled before filling. Warm cookies soften the filling and cause it to slide out. If your kitchen is warm, chill the assembled cookies for 15 minutes before serving.
My filling turned out too soft to hold its shape. This can happen if the butter was too warm when you started, or if too much marshmallow fluff was used relative to powdered sugar. Chilling the filling briefly before assembling helps firm it up.
My cookies spread too thin in the oven. Check that your butter wasn’t overly soft or melted when creaming, and make sure your baking soda is fresh, since old baking soda loses its lifting power over time.
Recipe Variations

Brown Butter Oatmeal Cream Pies. Brown the butter before creaming it with the sugars for a deeper, nuttier flavor in the cookie base.
Chocolate Chip Addition. Fold ½ cup mini chocolate chips into the dough for a chocolate chip oatmeal hybrid.
Spiced Fall Version. Add a pinch of nutmeg and ginger to the dough for a flavor closer to a spice cookie.
Mini Cream Pies. Use a smaller cookie scoop for bite-sized versions, adjusting the bake time down by a couple of minutes.
What to Serve With It
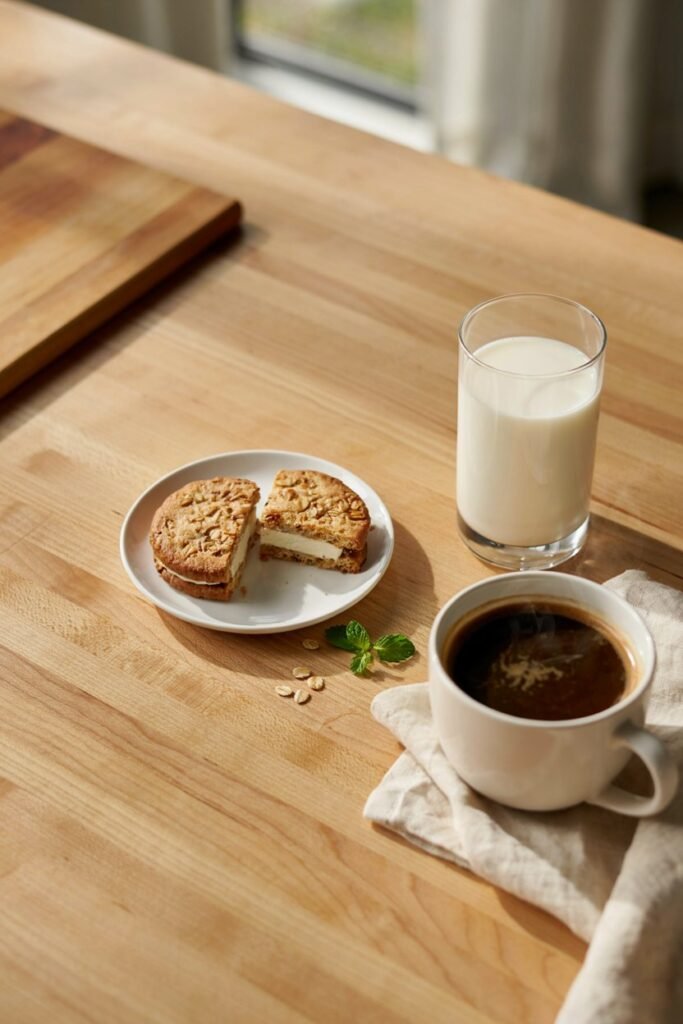
- A cold glass of milk, since it’s basically the whole point of this cookie
- Hot coffee, if you want something less sweet alongside it
- A scoop of vanilla ice cream sandwiched in for an over-the-top dessert
Storage
Room temperature. Store assembled cookies in an airtight container for up to 3 days. They stay soft, though the filling firms up slightly the longer they sit.
Refrigerator. Store for up to a week if you prefer a firmer filling texture, letting them sit at room temperature for a few minutes before eating.
Freezer. Both assembled and unfilled cookies freeze well for up to 3 months. If freezing assembled sandwiches, wrap them individually to keep the filling intact.
Make Ahead Notes
Bake the cookies a day or two ahead and store them unfilled at room temperature, then make the filling and assemble the day you want to serve them for the freshest texture.
The filling itself can also be made a day in advance and kept in the fridge, just let it come back to room temperature and re-whip briefly before using.
Frequently Asked Questions
Can I use quick oats instead of old-fashioned? You can, but the texture will be noticeably softer and less distinct, since quick oats break down more during baking.
Why did my cookies turn out too cakey? This usually means too much flour was added, or the butter and sugar were overcreamed, incorporating too much air into the dough.
Can I make the filling ahead of time? Yes. Store it in the fridge for up to 3 days, then let it soften at room temperature and re-whip briefly before using.
Can I freeze the assembled sandwiches? Yes, wrap them individually so the filling stays intact, and thaw at room temperature for about 20 minutes before eating.
How do I keep the filling from sliding out? Make sure the cookies are fully cooled before filling, and don’t overfill past the edges of the cookie.
Final Thoughts
These turned out to be one of those recipes where the homemade version genuinely outperforms the nostalgic original instead of just being a nice tribute to it.
The soft, chewy cookie and the fluffy filling both hold up so much better than anything individually wrapped ever could.
If you make these, let me know if you tried any of the variations, and how generous you got with the filling.
Homemade Oatmeal Cream Pies
Ingredients
Method
- Cream butter, brown sugar, and granulated sugar until light and fluffy.
- Beat in eggs one at a time, then vanilla.
- Whisk flour, oats, baking soda, cinnamon, and salt together, then mix into the wet ingredients until just combined.
- Preheat oven to 350°F. Scoop dough into balls and bake for 9 to 11 minutes, until edges are set and centers look slightly soft.
- Cool on the baking sheet for 5 minutes, then transfer to a wire rack to cool completely.
- Beat softened butter until smooth, add marshmallow fluff and beat until combined, then add powdered sugar, vanilla, and salt, beating until fluffy.
- Pipe or spoon filling onto one cookie, top with a second cookie, and press gently until filling spreads to the edges.
Notes
- Slightly underbake the cookies for the best soft, chewy texture.
- Let cookies cool completely before filling to prevent the filling from melting out.
- Freezes well, assembled or unfilled, for up to 3 months.