Vegan “KFC-Style” Fried Chicken (Copycat)
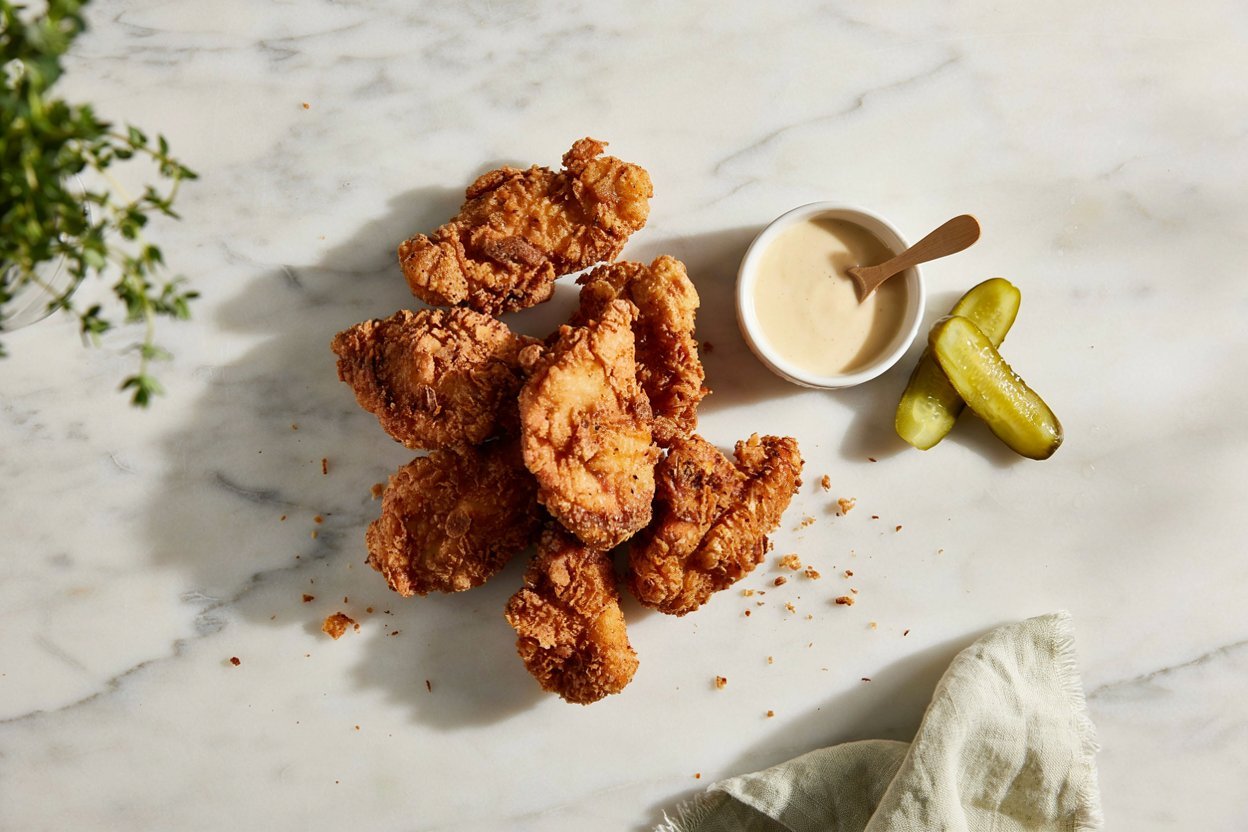
I spent years missing fried chicken after going vegan, mostly because most plant-based versions I tried were either bland underneath a decent coating or genuinely good but nothing like the specific, nostalgic flavor of that well-known bucket of fried chicken everyone recognizes.
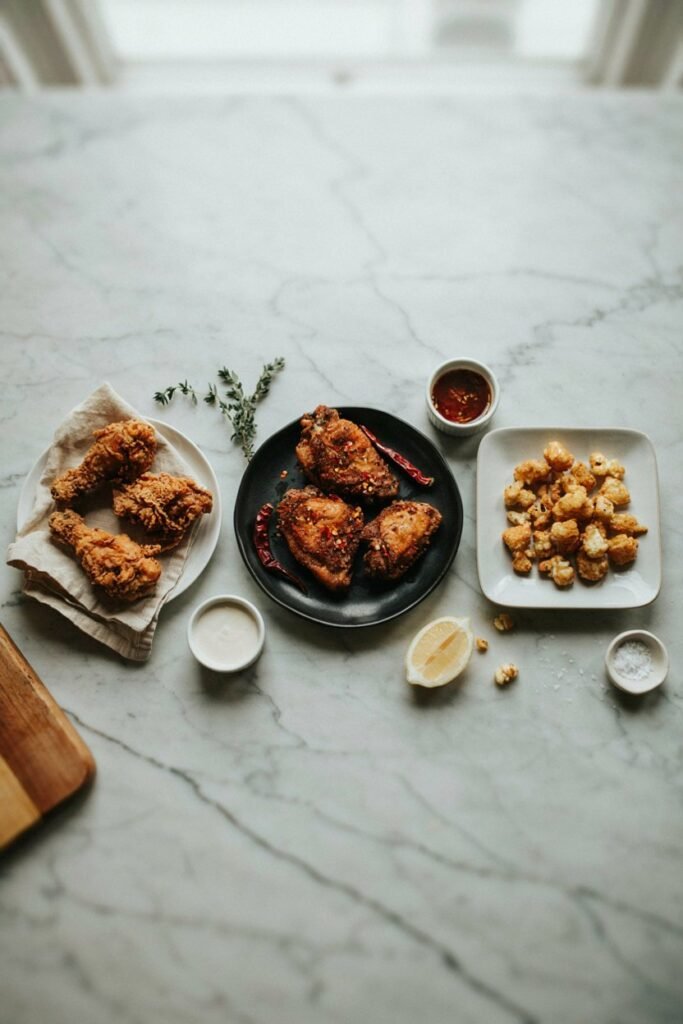
This recipe is my attempt at getting close to that exact flavor memory: a well-seasoned, crispy, craggy coating over something juicy underneath, without any actual chicken involved.
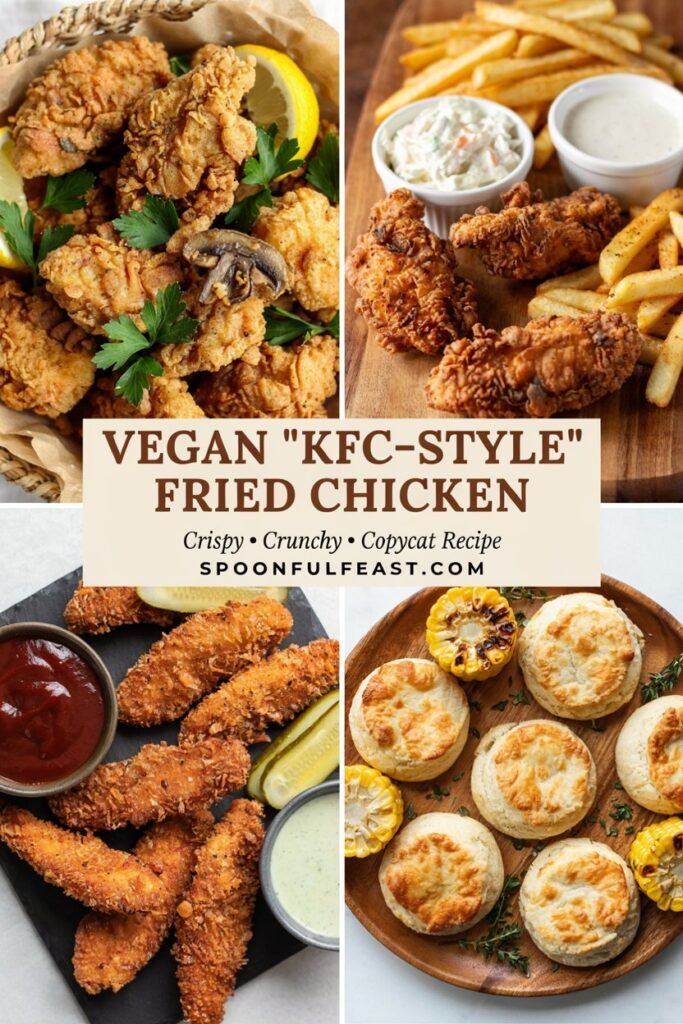
The key turned out to be two things: a proper plant-based buttermilk soak to season the “chicken” all the way through, not just on the surface, and a seasoned flour blend with enough depth from multiple spices layered together, not just salt and pepper with a little paprika.
Once I got both of those right, this became the recipe I make whenever a fried chicken craving hits and I don’t want a sad, underseasoned substitute.
A quick note before we get into it: this is an original copycat recipe inspired by the general flavor of a popular fast food fried chicken.
It’s not affiliated with, endorsed by, or an exact replica of any specific restaurant’s actual recipe, since that seasoning blend is a closely guarded trade secret nobody outside the company actually has.
This is my own take on getting close to that flavor profile using totally plant-based ingredients.
Why This One Works
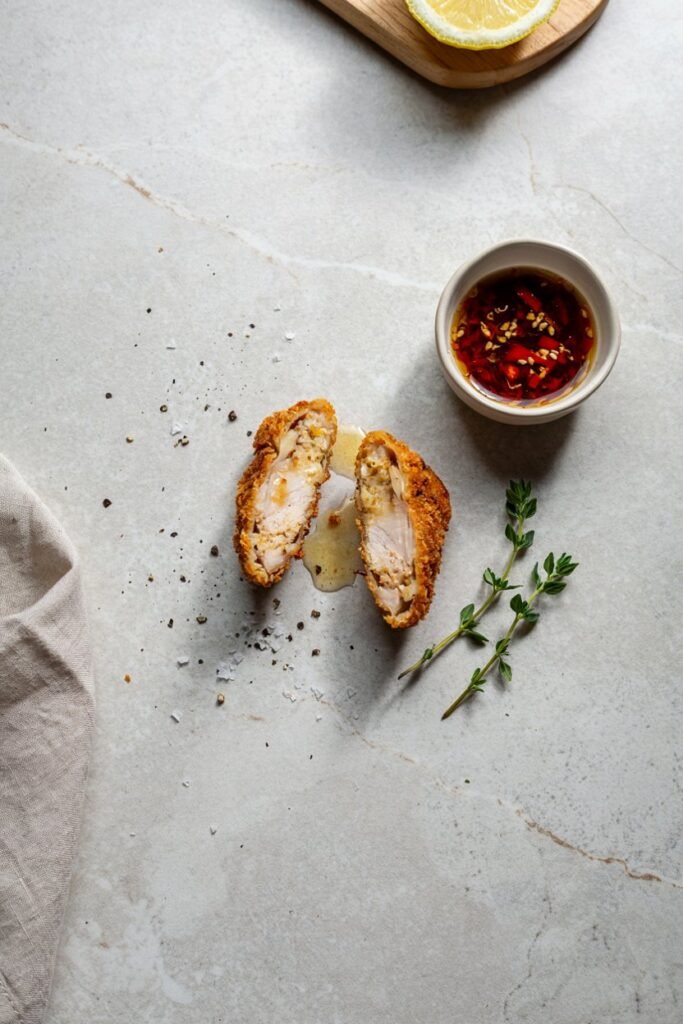
The soak actually seasons the inside, not just the coating. Marinating the plant-based chicken in a seasoned, dairy-free buttermilk mixture for a few hours means the flavor doesn’t just sit on the surface of the crust, it carries all the way through.
The spice blend has real depth. Using close to a dozen different spices and seasonings, rather than just salt, pepper, and paprika, is what gets you closer to that specific, recognizable flavor instead of a generic “seasoned fried” taste.
Double-dredging creates real crunch. Dipping the pieces in the wet mixture and seasoned flour twice, rather than once, is what gives you that craggy, extra-crispy exterior instead of a thin, smooth coating.
What Makes the Texture Different

A lot of vegan fried chicken recipes fail on texture specifically, either ending up mushy underneath a decent crust, or with a coating that doesn’t crisp up properly because the base protein releases too much moisture during frying.
Using a firm plant-based chicken substitute (or well-pressed extra-firm tofu or seitan, depending on what you have access to) and drying it thoroughly after the marinade soak solves most of that problem before it starts.
The double-dredge technique matters just as much. A single pass through wet batter and flour gives you a thin, sometimes patchy coating.
Going back through both a second time creates little craggy bits of extra coating that crisp up into the crunchiest parts of the finished piece, which is exactly the texture that’s so recognizable about the real thing.
Ingredients
For the “Chicken”
- Plant-based chicken pieces, extra-firm tofu, or seitan. Store-bought plant-based chicken cutlets or tenders work great here since they already have a chicken-like texture and hold up well to frying. Extra-firm tofu (pressed well) or homemade seitan are both solid alternatives.
For the Buttermilk Soak
- Unsweetened plant-based milk. Soy milk works best here because its protein content helps it curdle properly.
- Apple cider vinegar or lemon juice. Curdles the plant milk into a buttermilk-like consistency.
- Hot sauce. Adds a subtle background heat and tang.
- Garlic powder and onion powder. For depth of flavor in the soak itself.
For the Seasoned Flour
- All-purpose flour. The base of the coating.
- Cornstarch. Helps create extra crispiness in the fried crust.
- Paprika. For color and a mild smoky sweetness.
- Garlic powder, onion powder, and ground ginger. Build savory depth.
- Dried thyme, dried oregano, and dried basil. Herbal complexity that’s easy to skip but makes a real difference.
- Celery salt. A specific, slightly underrated seasoning that adds a distinct savory note.
- White pepper and black pepper. White pepper especially adds a background heat that’s different from black pepper alone.
- Salt. Ties everything together.
For Frying
- Neutral oil, such as vegetable or canola oil, enough for shallow or deep frying depending on your method.
Substitutions I’ve Actually Tested
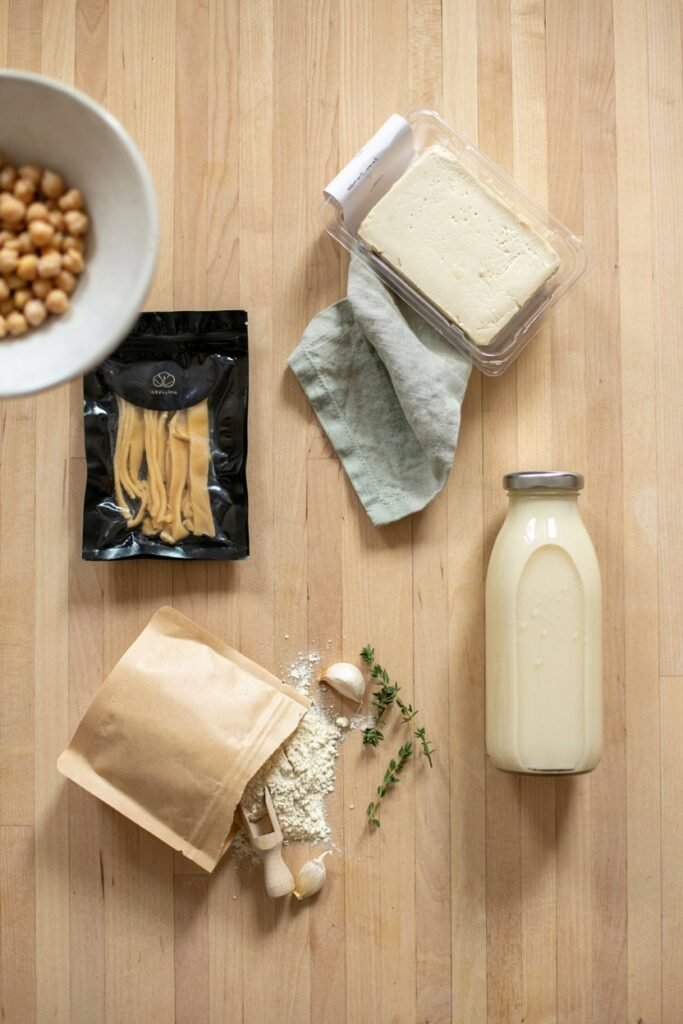
No soy milk? Oat milk works, though it curdles slightly less dramatically. The soak still works fine for flavor purposes.
Want to bake or air fry instead of deep frying? Both work. For air frying, spray the coated pieces generously with oil and cook at 400°F, flipping halfway, until golden and crisp, usually 15 to 18 minutes depending on thickness. For baking, use a wire rack over a baking sheet at 425°F for about 20 to 25 minutes, flipping once.
No celery salt on hand? Regular salt with a small pinch of celery seed works as a reasonable substitute.
Gluten-free? Use a 1:1 gluten-free flour blend in place of the all-purpose flour, and double check your plant-based chicken substitute is also gluten-free, since some brands use wheat-based binders.
Kitchen Tools You’ll Need
- Large mixing bowls, at least two
- Shallow dish or pie plate for dredging
- Tongs
- Deep, heavy-bottomed pot or Dutch oven, if deep frying
- Thermometer, for monitoring oil temperature
- Wire rack set over a baking sheet, for draining
- Air fryer or baking sheet, if using either alternative method
How to Make Vegan “KFC-Style” Fried Chicken
Step 1: Make the Buttermilk Soak
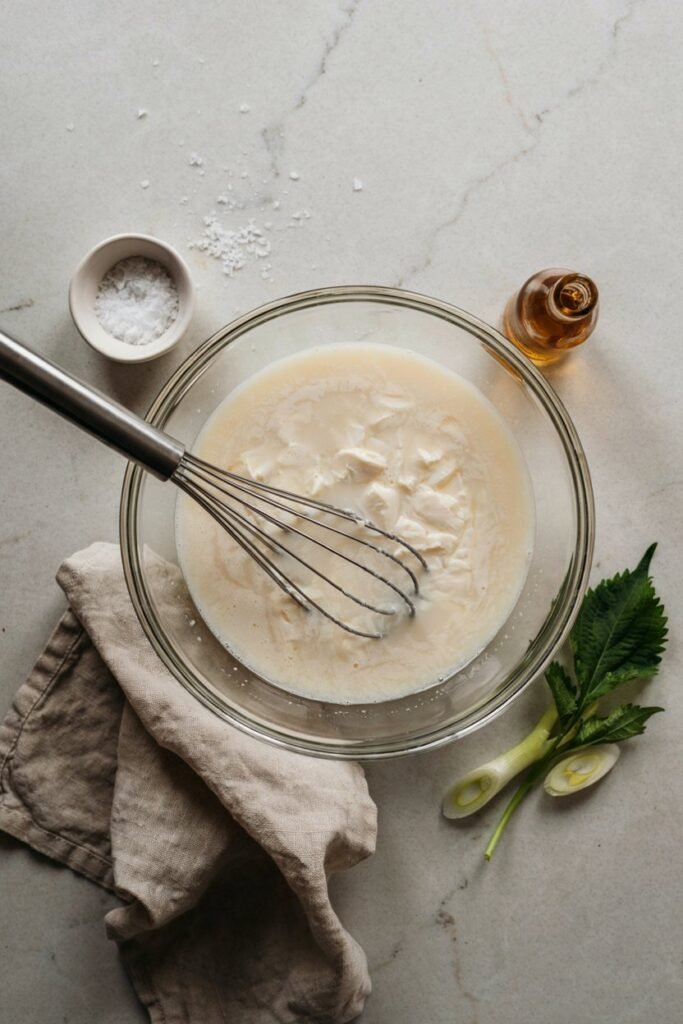
Whisk together the plant-based milk, apple cider vinegar, hot sauce, garlic powder, and onion powder in a large bowl. Let it sit for about 5 minutes so the milk has time to curdle slightly.
Step 2: Marinate the “Chicken”
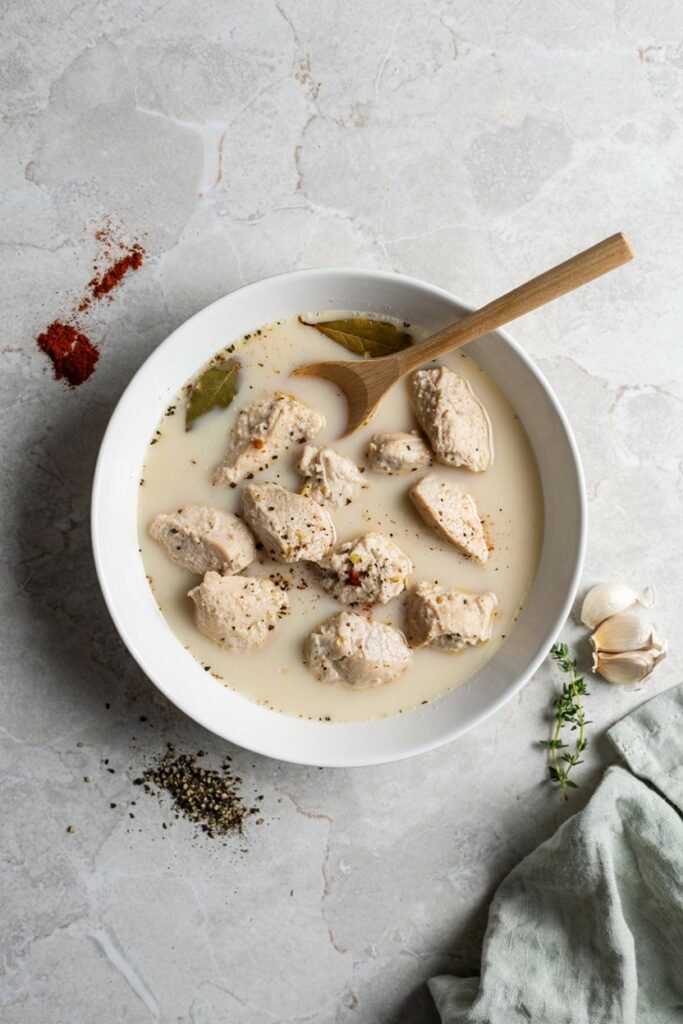
Add your plant-based chicken pieces, tofu, or seitan to the buttermilk soak, making sure everything is fully submerged. Cover and refrigerate for at least 2 hours, though overnight gives you the best flavor penetration.
Step 3: Mix the Seasoned Flour
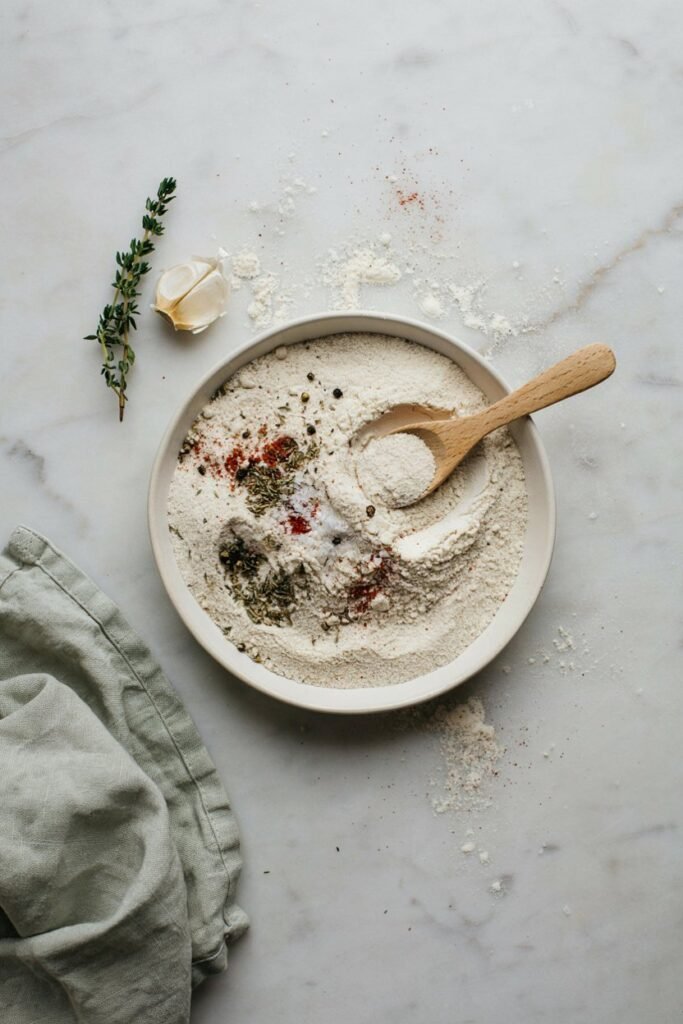
In a separate shallow dish, whisk together the flour, cornstarch, paprika, garlic powder, onion powder, ginger, thyme, oregano, basil, celery salt, white pepper, black pepper, and salt until evenly combined.
Step 4: First Dredge
Remove a piece from the buttermilk soak, letting excess liquid drip off, then press it into the seasoned flour, coating all sides thoroughly. Set aside on a plate or tray.
Step 5: Second Dredge
Dip the same piece back into the buttermilk soak briefly, then back into the seasoned flour a second time, pressing firmly so the flour really adheres and creates those craggy bits. Repeat with all remaining pieces.
Step 6: Rest Before Frying
Let the coated pieces rest for about 10 minutes before frying. This helps the coating set slightly so it doesn’t slide off in the hot oil.
Step 7: Fry

Heat your oil to 350°F in a deep, heavy-bottomed pot. Fry the pieces in batches, without overcrowding the pot, for about 4 to 6 minutes per side, until deeply golden and crisp, adjusting time based on thickness.
Use a thermometer to check the oil temperature between batches, since it drops each time you add cold pieces.
Step 8: Drain and Rest
Transfer fried pieces to a wire rack set over a baking sheet, rather than a paper towel-lined plate, which can make the bottom soggy. Let them rest for a few minutes before serving.
Tips From Making This More Times Than I’ll Admit
- Don’t skip the marinade time. Even a couple hours makes a noticeable difference over skipping straight to breading.
- Press your tofu really well if using it. Excess moisture is the number one reason the coating slides off during frying.
- Don’t overcrowd the frying pot. Adding too many pieces at once drops the oil temperature too much, leading to greasy, less crispy results.
- Use a thermometer. Guessing oil temperature is the most common reason fried food turns out either undercooked or overly greasy.
- Rest coated pieces before frying. Ten minutes makes the coating adhere much better and reduces how much falls off in the oil.
Mistakes I’ve Made So You Don’t Have To
Skipping the second dredge because I was in a hurry. The coating came out thin and patchy instead of craggy and crisp.
Frying with oil that wasn’t hot enough. The coating absorbed way more oil than it should have and turned out greasy instead of crisp.
Not pressing my tofu long enough the first time I used it. Excess water in the tofu caused the coating to slide right off during frying.
Overcrowding the pot to save time. The oil temperature dropped so much that everything came out pale and undercooked-looking instead of deeply golden.
Troubleshooting
My coating fell off during frying. This usually means the pieces weren’t rested long enough after dredging, or there was excess moisture on the surface, either from tofu that wasn’t pressed well enough or from skipping the resting step.
My coating turned out greasy instead of crispy. Almost always an oil temperature issue. If the oil isn’t hot enough, the coating absorbs oil instead of crisping up. Use a thermometer and keep it around 350°F, adjusting the burner as needed between batches.
My pieces cooked unevenly. Check that your pieces are relatively similar in size and thickness, and avoid overcrowding the pot, which causes uneven cooking and temperature drops.
The flavor tasted flat. This usually means the marinade time was too short, or the seasoned flour needs more salt and spices. Taste a small pinch of the seasoned flour mixture before dredging so you can adjust before frying the whole batch.
My air-fried or baked version didn’t get as crispy as frying. This is expected to some degree, since deep frying will always produce the crispiest result. Make sure you’re using a generous amount of oil spray for air frying, and a wire rack for baking, so hot air can circulate around the pieces fully.
Recipe Variations
Spicy Version. Add cayenne pepper and extra hot sauce to both the soak and the seasoned flour for a spicier finish.
Herb-Forward Version. Increase the dried herbs slightly and add a pinch of dried rosemary for a more herbaceous flavor profile.
Sandwich Style. Serve on a soft bun with pickles, vegan mayo, and hot sauce for a copycat spicy chicken sandwich.
Popcorn Style. Cut the plant-based chicken or tofu into smaller bite-sized pieces before marinating and dredging for a popcorn chicken version with a shorter fry time.
What to Serve With It
- Coleslaw, for a classic pairing
- Mashed potatoes and vegan gravy
- Biscuits or cornbread
- Pickles on the side
- Hot sauce or a dipping sauce of your choice
Storage
Refrigerator. Store leftovers in an airtight container for up to 3 days. Reheat in the oven or air fryer to help restore some crispiness, since microwaving will make the coating soggy.
Freezer. Freeze cooked, cooled pieces in a single layer before transferring to a freezer bag, for up to 2 months. Reheat from frozen in the oven or air fryer until heated through and crisp again.
Make Ahead Notes
The buttermilk marinade step can be done a day ahead, which actually improves the flavor. You can also bread the pieces a few hours ahead and keep them in the fridge on a tray before frying, though frying fresh generally gives the best texture.
Frequently Asked Questions
What plant-based chicken works best for this? Store-bought plant-based chicken cutlets or tenders work great since they already have a chicken-like bite. Extra-firm, well-pressed tofu or homemade seitan are both good alternatives if you prefer to avoid packaged substitutes.
Can I make this without deep frying? Yes, both air frying and baking work, though the texture will be slightly less crispy than true deep frying. See the substitutions section above for specific temperatures and times.
Is this an exact copy of any specific restaurant’s recipe? No. This is an original recipe inspired by the general flavor profile of well-known fried chicken, not an exact replica of any proprietary blend, since that information isn’t publicly available.
Can I make this gluten-free? Yes, using a 1:1 gluten-free flour blend and confirming your plant-based chicken substitute is also gluten-free.
Why did my coating turn out pale instead of golden? This usually means the oil wasn’t hot enough. Check your temperature with a thermometer and aim for around 350°F.
Final Thoughts
This recipe closed the gap for me between missing fried chicken and actually being satisfied with a plant-based version of it.
The double-dredge and properly seasoned soak make a bigger difference than I expected going in, and it’s become my go-to whenever that specific craving hits.
If you make this, let me know which base you used, plant-based chicken, tofu, or seitan, and how it turned out.
Vegan “KFC-Style” Fried Chicken
Ingredients
Method
- Whisk together soy milk, vinegar, hot sauce, garlic powder, and onion powder. Let sit 5 minutes.
- Add plant-based chicken, tofu, or seitan to the soak, submerging fully. Cover and refrigerate at least 2 hours, or overnight.
- Whisk together flour, cornstarch, and all seasonings in a shallow dish.
- Remove a piece from the soak, letting excess drip off, and press into the seasoned flour, coating fully.
- Dip back into the soak briefly, then back into the seasoned flour a second time, pressing firmly. Repeat with all pieces.
- Let coated pieces rest 10 minutes before frying.
- Heat oil to 350°F. Fry in batches, 4 to 6 minutes per side, until deeply golden and crisp.
- Drain on a wire rack set over a baking sheet. Let rest a few minutes before serving.
Notes
- Marinating overnight gives the best flavor penetration.
- The double-dredge step is essential for a craggy, crispy coating; don’t skip it.
- Use a thermometer to keep oil at a consistent 350°F for the crispiest, least greasy result.
- Can be air-fried at 400°F for 15-18 minutes or baked at 425°F for 20-25 minutes as a lower-oil alternative.