
The Best Vegan Chili Recipe
If you’ve ever made vegan chili that tasted more like tomato soup with beans dumped in than something that actually simmered and developed flavor, you know the problem this recipe is solving.
Thin, watery, one-note chili is the most common complaint about meatless versions, and it’s almost always fixable with two things: a real flavor base built before any liquid goes in, and enough texture variety that every spoonful doesn’t feel the same.
This version leans on a combination of beans and lentils to get that hearty, stick-to-your-ribs quality good chili needs, plus a handful of pantry spices toasted directly in the pot to wake up their flavor before the tomatoes and broth go in.
It’s the kind of chili that convinces people who “don’t really like vegan food” that they might be wrong about that.
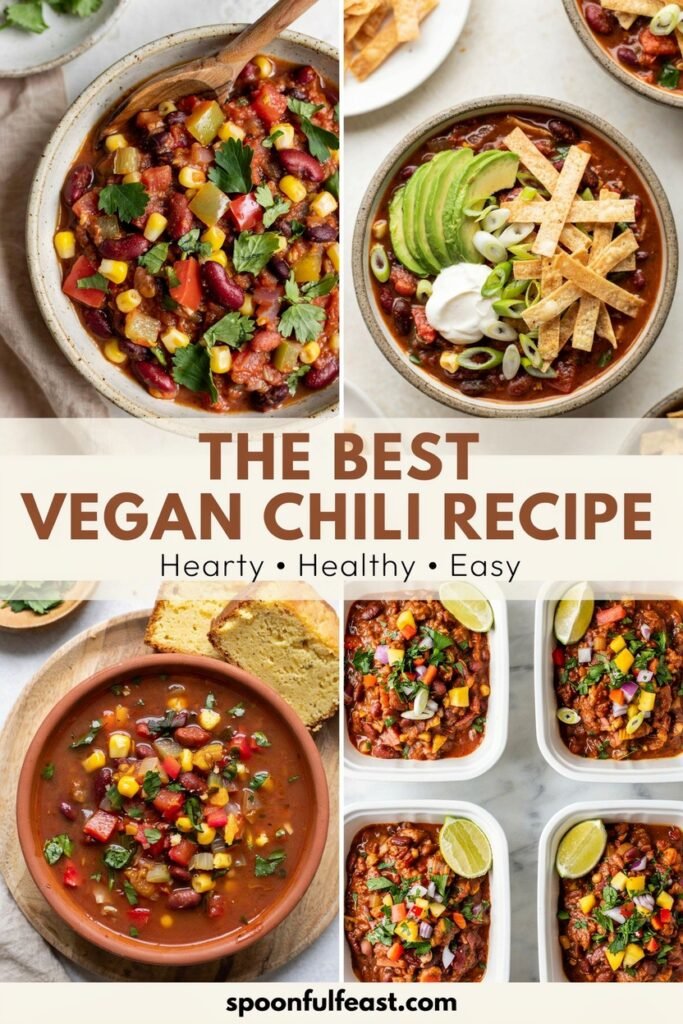
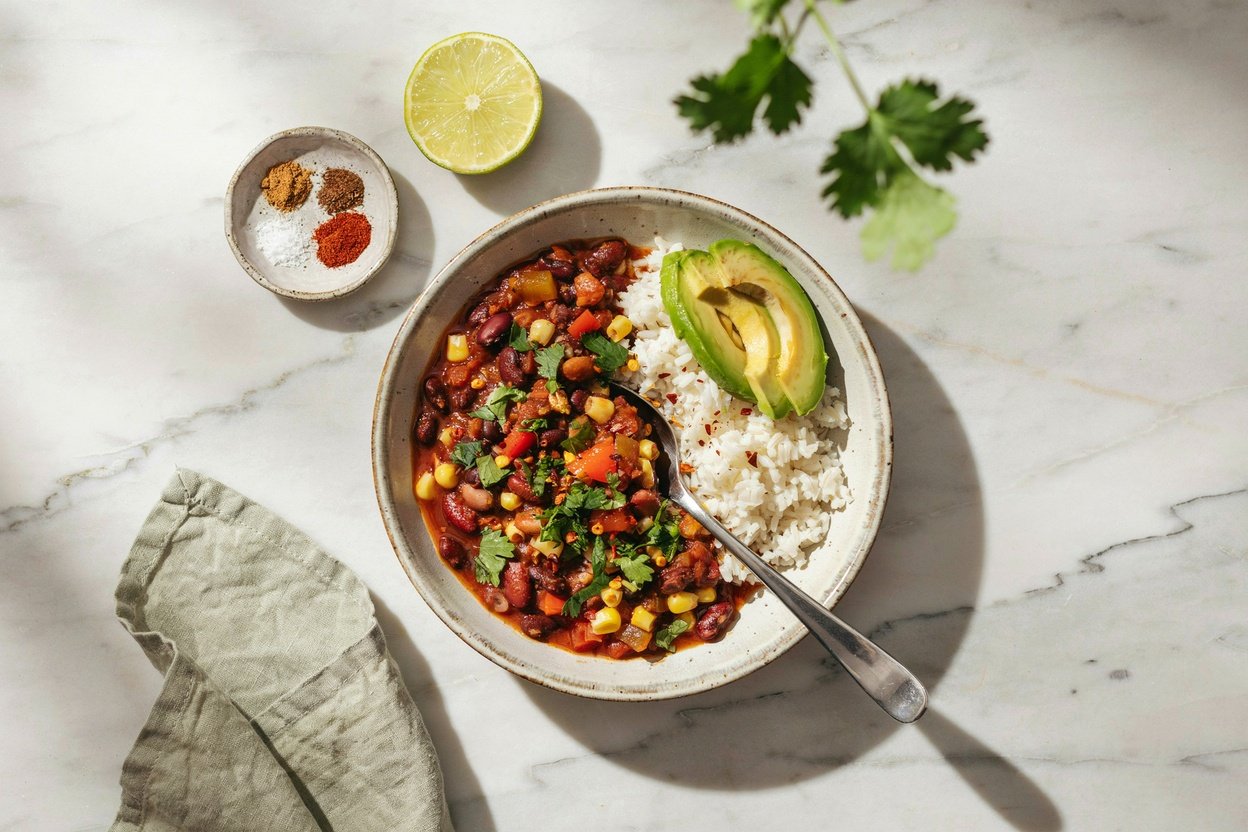
You’ll serve this over rice with avocado, like in the photo, though it holds up just as well on its own, over baked potatoes, or scooped up with tortilla chips. If you’re new to cooking vegan meals, this is a great one to start with because it doesn’t taste like it’s missing anything.
Why This One Works (When So Many Vegan Chilis Don’t)
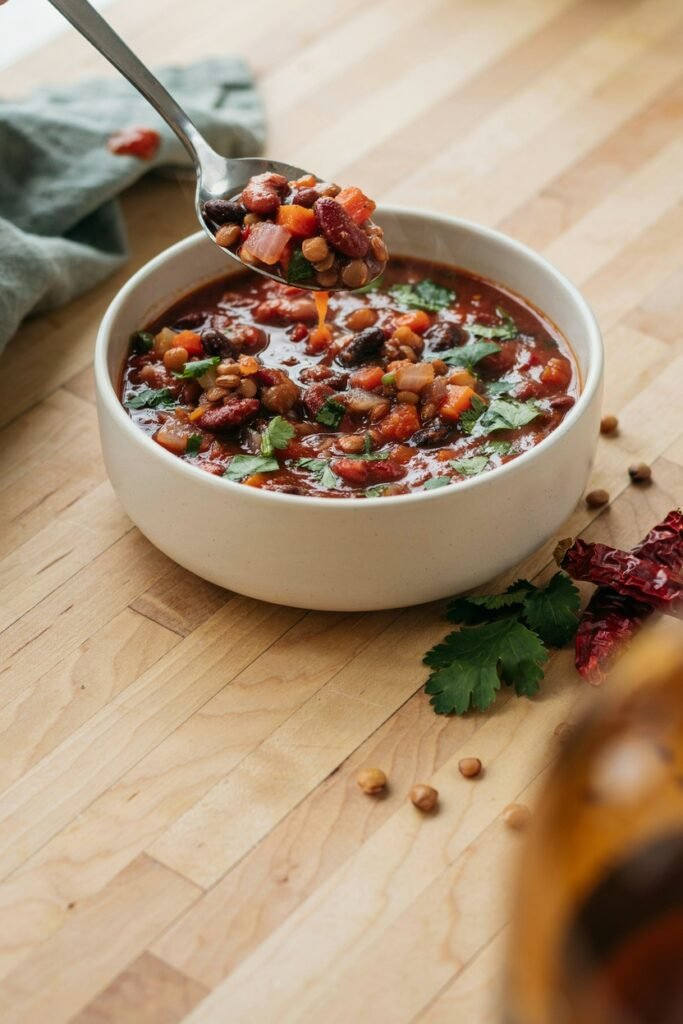
It has real depth of flavor. Toasting the spices in the pot before adding liquid wakes up their oils and gives you a much deeper flavor than just stirring spices into a simmering pot at the end. I learned this trick from making regular chili years ago, and it makes just as much of a difference here.
The texture is hearty, not mushy. A mix of kidney beans, black beans, and brown or green lentils gives you different textures in every bite, so it doesn’t collapse into one uniform mush the way single-bean chilis sometimes do.
It tastes rich without meat. A small amount of tomato paste and a splash of soy sauce or tamari add a savory, almost meaty depth that rounds out the tomatoes without you ever missing the meat.
What Makes the Texture Different
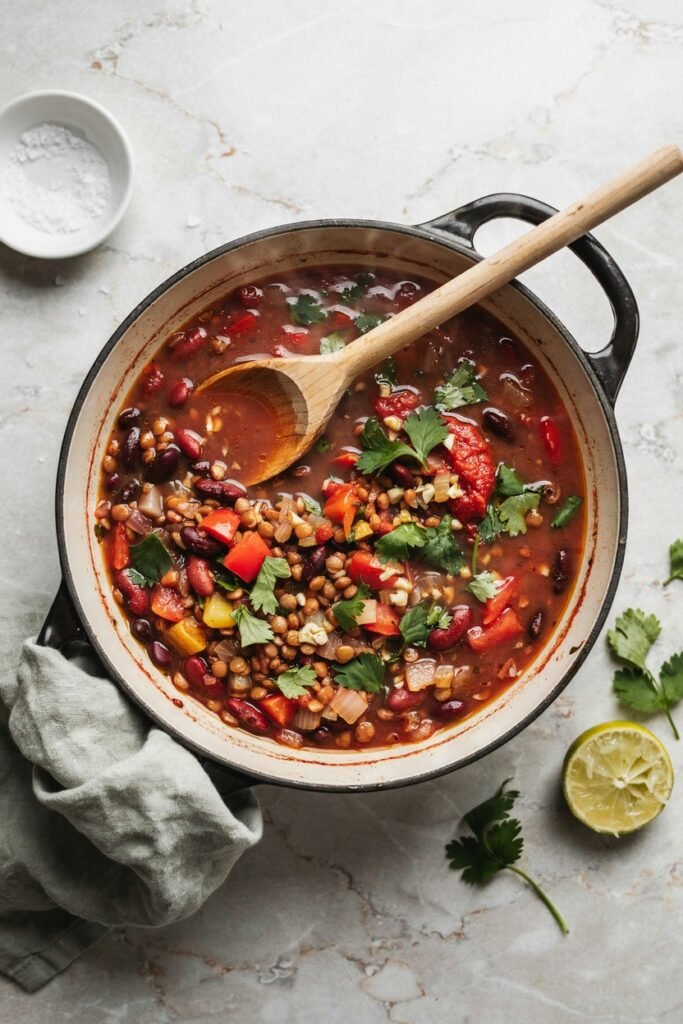
Most thin vegan chilis skip the step of properly cooking down the vegetables before adding liquid. If you rush this part, you end up with a soupy chili that never thickens properly no matter how long it simmers.
Taking the extra five minutes to soften the onion, carrot, and pepper first, then toasting the spices directly in that fat, builds a base that actually thickens the chili from the inside instead of relying on it to reduce for an hour on the stove.
The lentils matter too. They break down slightly as they cook, which naturally thickens the chili and gives it body, while the beans hold their shape and give you something to bite into. If you’ve only ever made bean-only chili, adding lentils is the single easiest upgrade you can make.
Ingredients
- Olive oil, for sautéing the vegetables and blooming the spices.
- Yellow onion, diced. The backbone of the flavor base.
- Carrot, diced. Adds a subtle sweetness that balances the acidity of the tomatoes.
- Bell pepper, diced. I usually use red for sweetness, but any color works.
- Garlic, minced. Added after the vegetables have softened so it doesn’t burn.
- Chili powder, cumin, smoked paprika, and oregano. This combination is what gives the chili its depth. Smoked paprika especially adds a flavor that reads as “cooked low and slow” even though this simmers for under an hour.
- Tomato paste. Adds richness and helps thicken the base.
- Canned crushed tomatoes. The main liquid base.
- Vegetable broth. Adjusts the consistency and adds another layer of savory flavor.
- Kidney beans and black beans, drained and rinsed. The two-bean combination gives you variety in texture.
- Brown or green lentils, uncooked. These simmer directly in the chili and thicken it as they cook.
- Soy sauce or tamari. My not-so-secret ingredient for adding savory depth without meat.
- Salt and black pepper, to taste.
- Lime juice, added at the end to brighten everything up.
Substitutions I’ve Actually Tested
No lentils on hand? An extra can of beans works, though you’ll lose some of the thickening effect and need to simmer a bit longer to reduce the liquid.
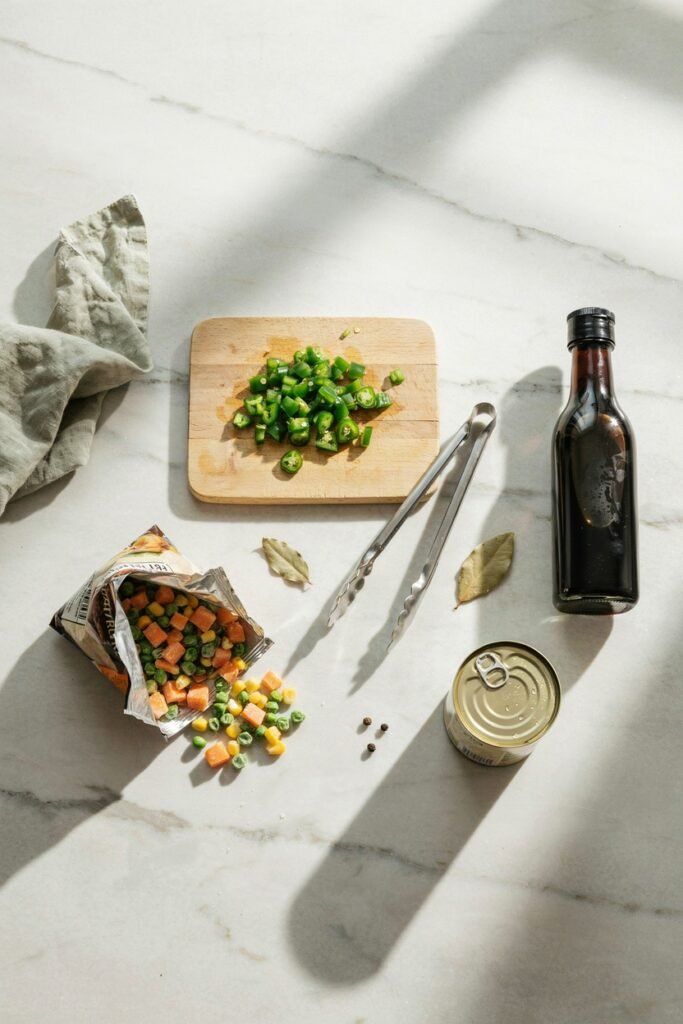
Want it spicier? Add a diced jalapeño with the other vegetables, or a pinch of cayenne with the other spices. I do this about half the time and my husband does not, which is why I usually serve hot sauce on the side instead of building heat into the whole pot.
Gluten-free? Use tamari instead of regular soy sauce, since some soy sauces contain wheat.
No fresh vegetables? Frozen diced onion, carrot, and pepper blends work in a pinch, though fresh gives a better base flavor if you have the time.
Kitchen Tools You’ll Need
- Large pot or Dutch oven
- Wooden spoon
- Cutting board and knife
- Measuring cups and spoons
- Ladle for serving
- Airtight containers, if you’re meal prepping this like I usually do
How to Make Vegan Chili
Step 1: Sauté the Vegetables

Heat the olive oil in a large pot over medium heat. Add the onion, carrot, and bell pepper, and cook for about 6 to 8 minutes, stirring occasionally, until the onion turns translucent and the vegetables begin to soften.
Don’t rush this step. It’s where most of the chili’s flavor foundation actually comes from.
Step 2: Add the Garlic and Spices

Add the garlic and cook for about 30 seconds, just until fragrant. Add the chili powder, cumin, smoked paprika, and oregano, along with the tomato paste, and stir everything together, letting it cook for about 1 minute.
You’ll notice the spices start to smell noticeably more fragrant once they hit the hot pot. That’s exactly what you want, since it wakes up their oils instead of leaving them tasting raw and dusty in the final chili.
Step 3: Add the Liquids and Lentils
Pour in the crushed tomatoes and vegetable broth, then stir in the uncooked lentils. Bring the mixture to a boil, then reduce the heat to low.
Step 4: Simmer
Cover partially and let the chili simmer for 30 to 35 minutes, stirring occasionally, until the lentils are tender and the chili has thickened noticeably.
If it looks too thick partway through, add a splash more broth. If it looks too thin near the end, uncover it for the last 10 minutes to let it reduce.
Step 5: Add the Beans
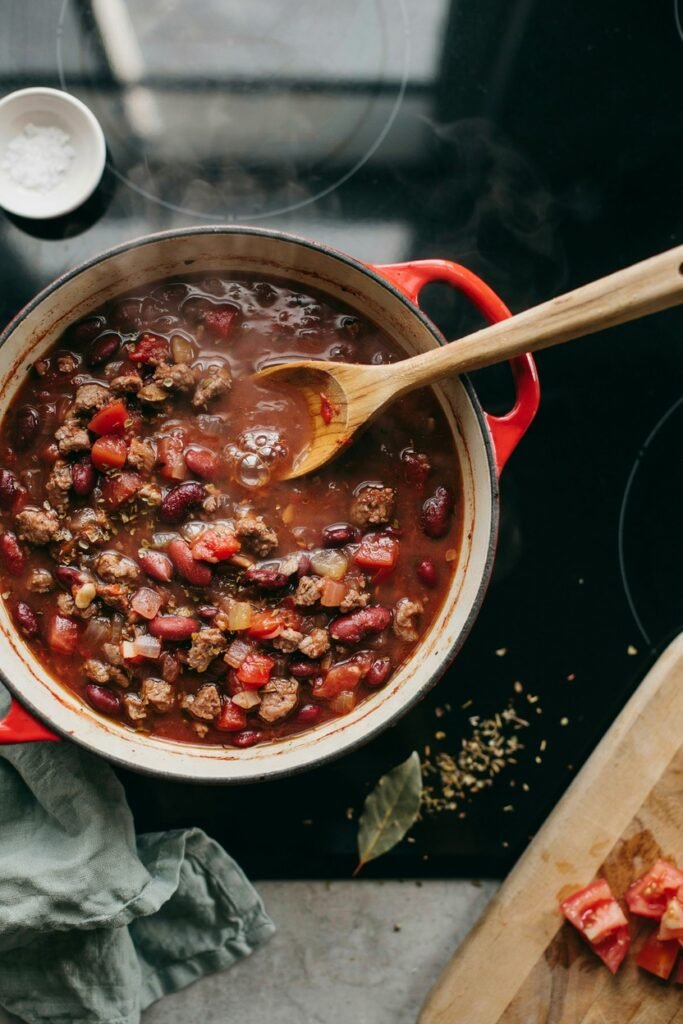
Stir in the kidney beans and black beans, along with the soy sauce or tamari. Simmer for another 10 minutes, just until the beans are heated through.
Step 6: Finish and Serve
Remove from heat and stir in the lime juice. Taste and adjust salt, pepper, or spice level before serving. Serve over rice with sliced avocado, or with whatever toppings you like.
How I Meal Prep This
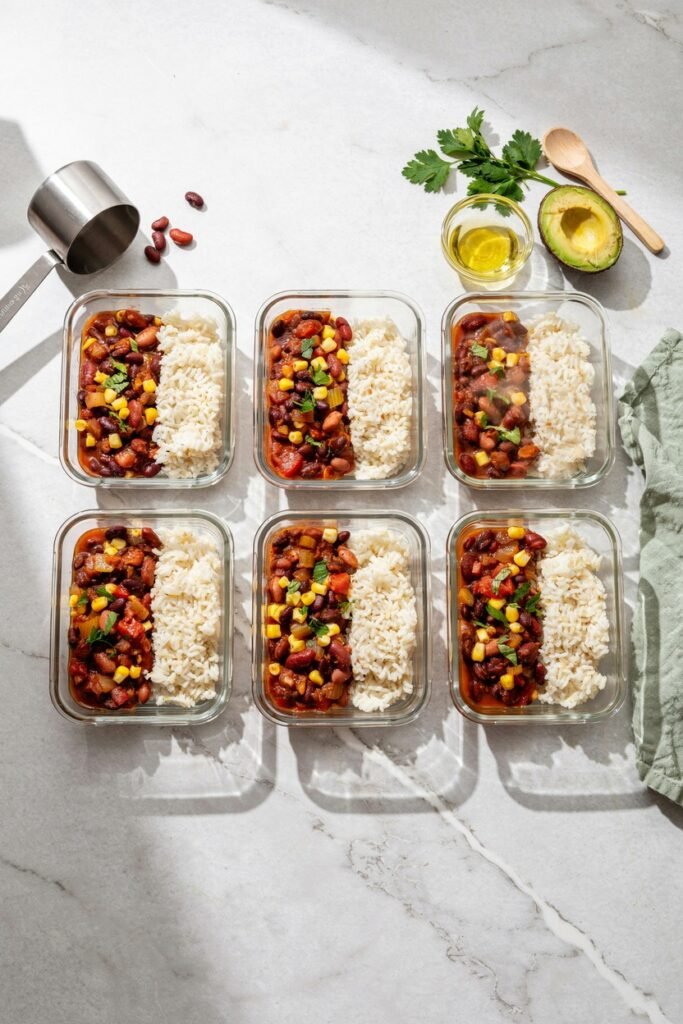
This chili genuinely tastes better on day two, which makes it one of my favorite meal prep recipes.
I make a full batch on Sunday, usually doubling it for a busy week, then portion it into airtight containers with a scoop of rice once it’s cooled. I keep avocado separate and slice it fresh right before eating, since it browns quickly.
I freeze extra portions individually in labeled bags laid flat, so they stack easily and thaw faster than one big block. On busy nights, dinner is just reheating a container and adding fresh avocado and lime, faster than ordering takeout.
Tips From Making This More Times Than I’ll Admit
- Don’t skip toasting the spices. It takes one extra minute and makes a noticeable difference in flavor depth.
- Rinse your canned beans. This removes excess sodium and the slightly metallic canning liquid that can dull the flavor of the finished chili.
- Taste before you add all the salt. Soy sauce and vegetable broth both bring their own sodium, so season at the end rather than all at once at the start.
- Let it rest for a few minutes off heat before serving. The flavors settle and the texture thickens slightly as it sits.
- Make extra. This recipe practically begs to be doubled for meal prep.
Mistakes I’ve Made So You Don’t Have To
Rushing the vegetable sauté because I was hungry. The chili tasted flat and thin, and no amount of extra simmering fully made up for it.
Adding all the salt at the start. Between the broth, soy sauce, and canned tomatoes, it turned out too salty by the time it finished simmering. Now I season at the very end.
Forgetting to rinse the beans. Small thing, but it left a slightly canned, metallic aftertaste that was noticeable enough to bother me.
Freezing the whole pot as one block. Took forever to thaw and I ended up defrosting way more than I needed for one dinner. Portioning into single servings before freezing fixed this completely.
Troubleshooting
My chili is too thin. Uncover the pot for the last 10 to 15 minutes of simmering to let excess liquid reduce. This usually happens if the vegetables weren’t cooked down enough at the start, or if too much broth was added too early.
My chili is too thick or looks like it’s sticking to the bottom. Add a splash of vegetable broth or water and stir. This can happen if the lentils absorbed more liquid than expected, especially with certain lentil varieties.
The lentils didn’t soften. Older lentils can take longer to cook, or the simmer may have been too low. Give it another 10 to 15 minutes on a slightly higher simmer, adding a bit more liquid if needed.
It tastes bland. This usually means the spices weren’t toasted long enough at the start, or it needs more salt and lime juice at the end. Acid and salt both do a lot of work to brighten a chili that tastes flat.
It’s too salty. Add a splash of water or extra crushed tomatoes to dilute it, and balance with a little extra lime juice.
Recipe Variations
Smoky Chipotle Vegan Chili. Add 1 to 2 diced chipotle peppers in adobo sauce for a smoky, spicier version.
Sweet Potato Vegan Chili. Add 1 cup of diced sweet potato with the other vegetables for extra heartiness.
Three Bean Chili. Swap the lentils for a third can of beans, such as pinto, if you want a fully bean-based version.
Chili Verde Style. Swap the crushed tomatoes for green enchilada sauce and add a can of diced green chilies.
What to Serve With It
- White or brown rice
- Sliced avocado and lime, like in the photo
- Warm tortillas or cornbread
- A dollop of dairy-free sour cream
- Tortilla chips for scooping
- Fresh cilantro and diced red onion on top
Storage
Refrigerator. Store in an airtight container for up to 5 days. The flavor actually improves after the first day.
Freezer. Freeze in individual portions for up to 3 months. Thaw overnight in the fridge or reheat directly from frozen on the stovetop over low heat, stirring occasionally.
Make Ahead Notes
This chili is one of the best make-ahead meals I make. If you’re serving it for guests, make it a day in advance and reheat gently before serving, since the flavor only gets better with time.
Frequently Asked Questions
Is this chili actually filling without meat? Yes. Between the beans, lentils, and rice, it’s high in fiber and plant protein, which keeps it satisfying.
Can I make this in a slow cooker? Yes. Sauté the vegetables and toast the spices on the stovetop first for the best flavor, then transfer everything to a slow cooker and cook on low for 6 to 7 hours.
Can I make this in an Instant Pot? Yes. Sauté using the sauté function, then pressure cook on high for 12 minutes with a natural release.
Is this gluten free? Yes, as long as you use tamari instead of regular soy sauce.
Why did my lentils turn to mush? This can happen if they simmered too long or at too high a heat. Check them starting around the 25 minute mark next time.
Can I add vegan meat crumbles? Yes, if you want to bulk it up further, though I genuinely don’t think it needs it.
Final Thoughts
This is the recipe that changed my mind about what vegan chili could actually taste like. It’s hearty, it’s rich, and it’s the kind of meal that makes weeknight dinners and Sunday meal prep equally easy.
I make a double batch more often than not at this point, mostly because between my husband and me, a single batch never quite makes it to day three.
If you make it, let me know what you served it over and whether you added any heat. I’m always curious how other people build their bowl.
The Best Vegan Chili Recipe
Ingredients
Method
- Heat olive oil in a large pot over medium heat. Sauté onion, carrot, and bell pepper for 6 to 8 minutes, until softened.
- Add garlic and cook 30 seconds. Stir in chili powder, cumin, smoked paprika, oregano, and tomato paste, cooking for 1 minute.
- Add crushed tomatoes, vegetable broth, and uncooked lentils. Bring to a boil, then reduce heat to low.
- Simmer partially covered for 30 to 35 minutes, until lentils are tender and chili has thickened.
- Stir in kidney beans, black beans, and soy sauce. Simmer for another 10 minutes.
- Remove from heat, stir in lime juice, and adjust seasoning to taste.
- Serve over rice with sliced avocado.
Notes
- Toasting the spices before adding liquid makes a noticeable difference in flavor.
- Rinse canned beans to remove excess sodium.
- Freezes well in individual portions for up to 3 months.
- Flavor improves after resting overnight in the fridge.
